Hi everyone, In this fifth part of VIDM series, I am going to explain how you are going to configure multi-factor authentication using VMware Verify. Lets get started.
- Login to VMware Identity Manager admin console and navigate to Identity & Access Management > Manage > Authentication Methods and click on Pencil icon to configure VMware Verify.

- Select Enable VMware Verify and click on Save

- Verify Authentication Method status is Enabled.

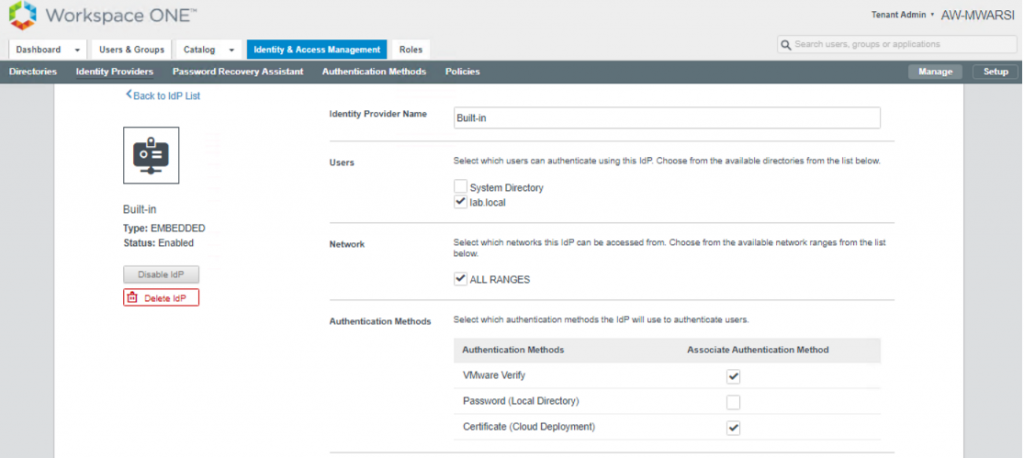
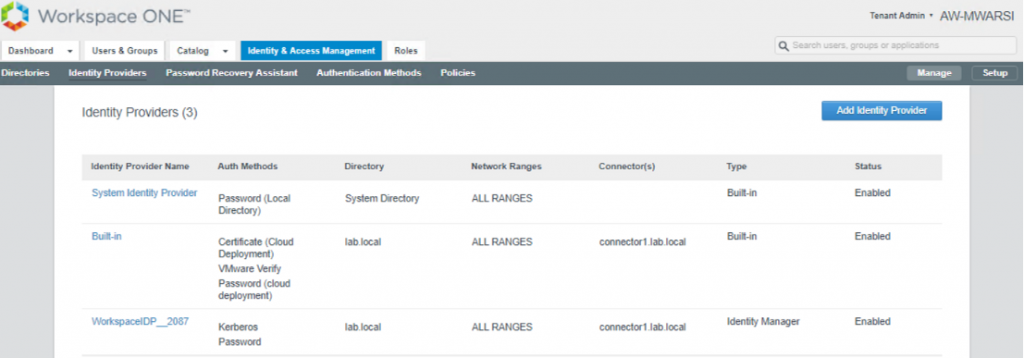
- Now, we need to configure IDP to use Certificate based authentication. Navigate to Identity & Access Management > Manage > Identity Providers and click on Built-In IDP. You will notice VMware Verify authentication method is available. Select it and click on Save.

- Verify that VMware Verify is available under Authentication Methods against Built-In IDP.

- Next, we have to update the default policy to use Password (Cloud deployment). Navigate to Identity & Access Management> Manage> Polices. Click on Edit Default Policy> Configuration > Edit Policy Rule and select Password (Cloud deployment), click + sign and select VMware Verify.

- Save the Rule and Finish edit Policy Wizard
- Login to end user machine. Launch IE/Chrome and access the VMware Identity Manager URL. Enter your credential and click on Sign in

- Since, you are logging in for first time, you will be prompted to register for MFA using mobile number. Enter detail and click Sign in

- You will get OTP to verify your mobile number which you enter here and click Sign In.

Note: You need to download VMware Verify App from iOS/Android app store for using different methods of login like push notification and time based code.
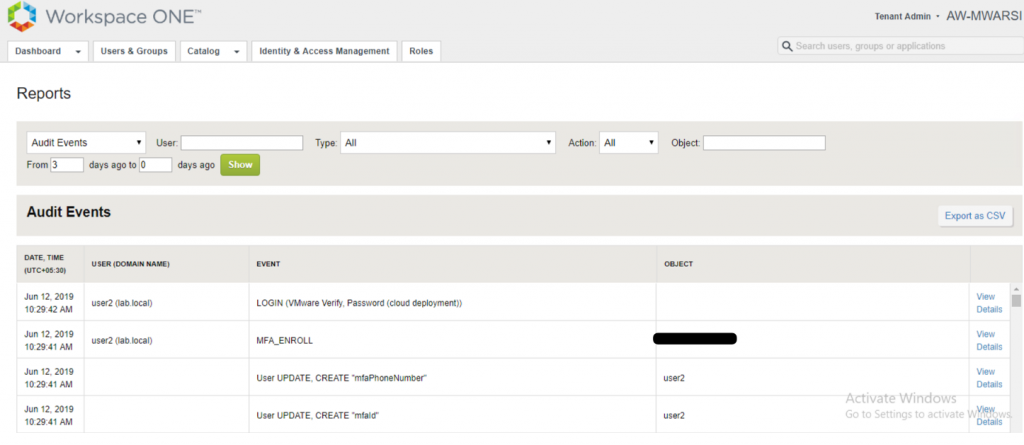
- Login to VMware Identity Manager admin console and navigate to Dashboard>Reports> Audit Events and filter Type with Login. It shows MFA id got created for user and MFA enrollment is done as well as User logged into portal with VMware Verify & Password (Cloud deployment).

Thanks for reading, let me know your feedback.
