Well this article has no reference as such. I was experimenting integration of WordPress with VMware Identity Manager for authentication using SAML. For this, I have my setup of VIDM SAAS instance and On-premises Active Directory as well as a WordPress Site.
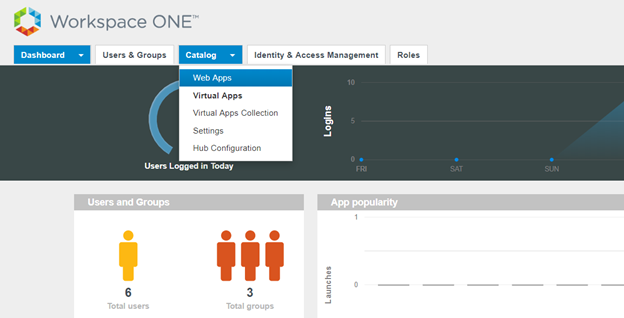
- Login to VMware Identity Manager portal and navigate to Catalog > Web Apps.
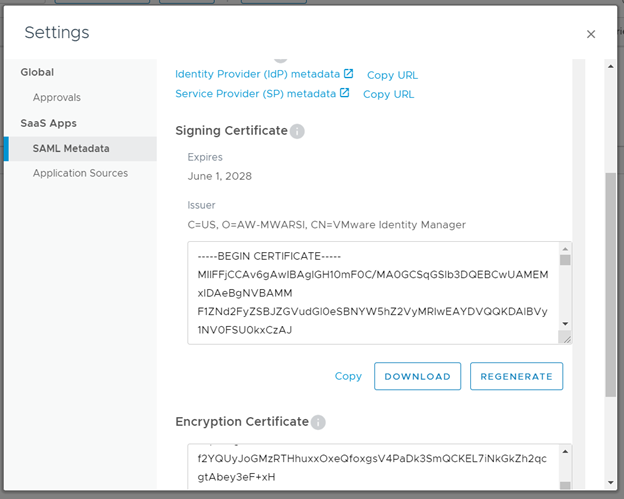
- Click on Settings
- Download the Identity Provider (IdP) metadata as well as Signing Certificate
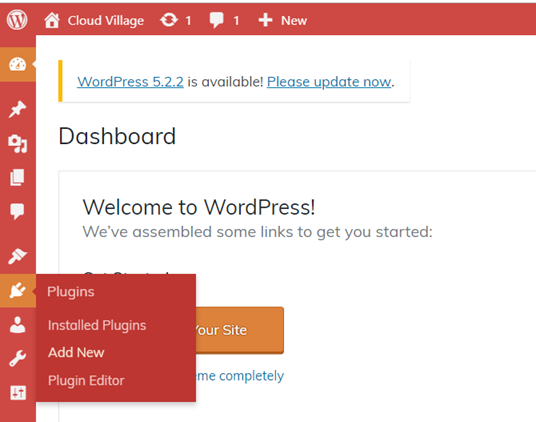
- Login to WordPress admin console and click on Plugins and select Add New
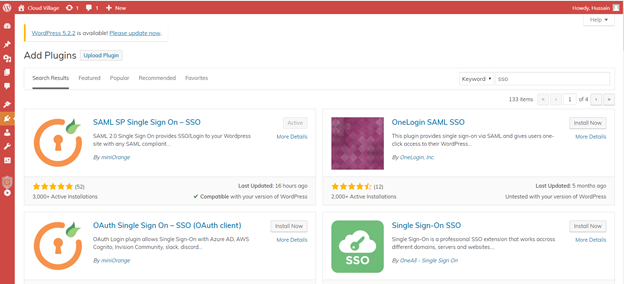
- Search for SSO and it will list many SAML SP Plugins, I have installed the first one for my testing.
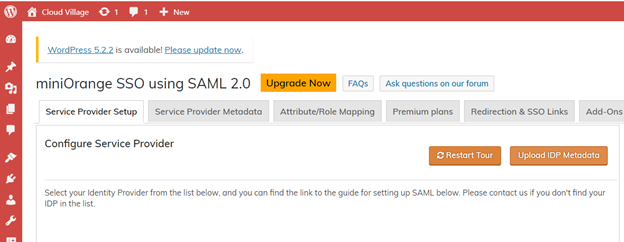
- Install and activate the plugin and click on settings to configure it. Click on Upload IDP metadata select the file which is downloaded from VMware Identity Manager and upload it.
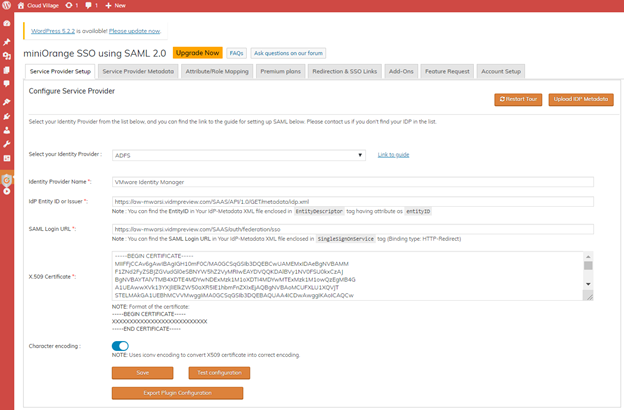
- Once IDP metadata is uploaded, it will populate the complete IDP form as shown below. Click on Save
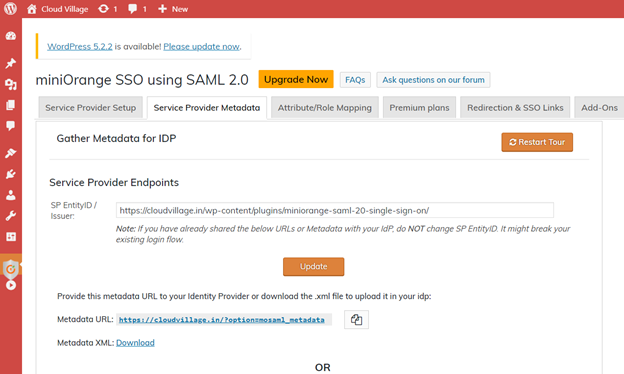
- Click on Service Provider metadata tab and click on Download for Metadata XML
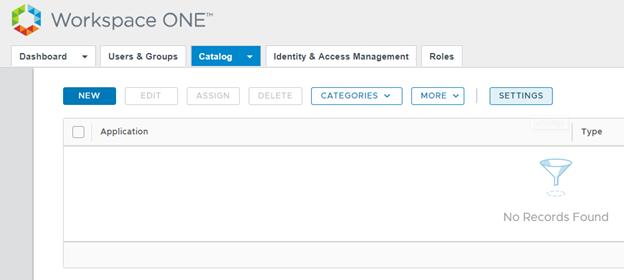
- Login back to VMware Identity Manager portal and navigate to Catalog > Web Apps and click on New
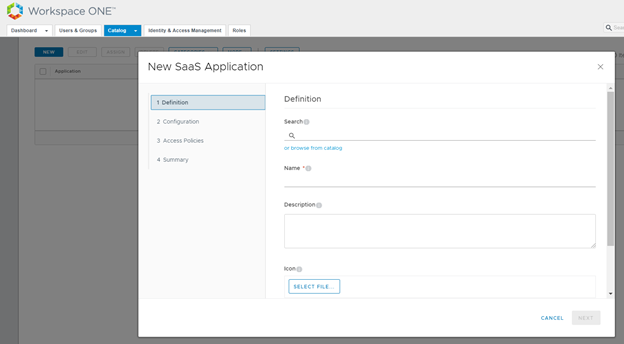
- Enter a name for your WordPress App and click Next

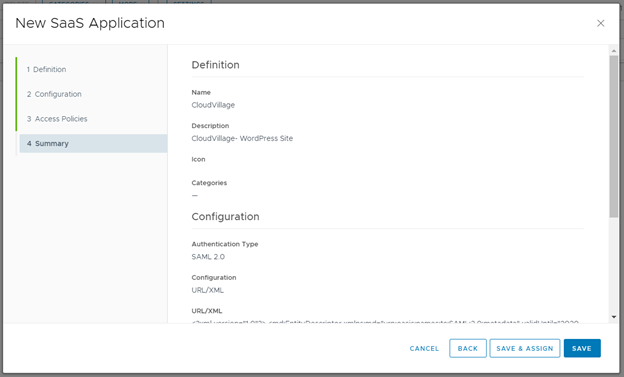
- In configuration page, paste the XML configuration which is downloaded from WordPress App Click on Next

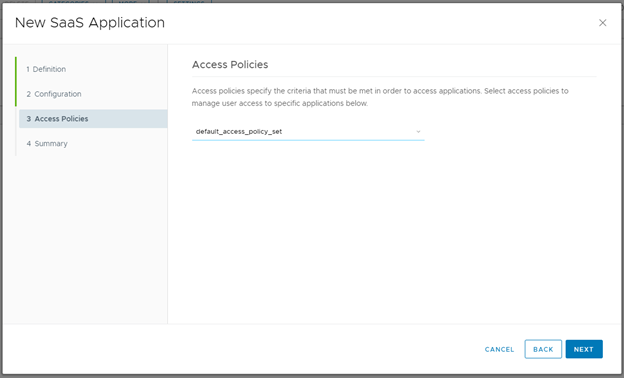
- Click Next for default policy
- Click on Save & Assign
- Add users and select Automatic and click on Save
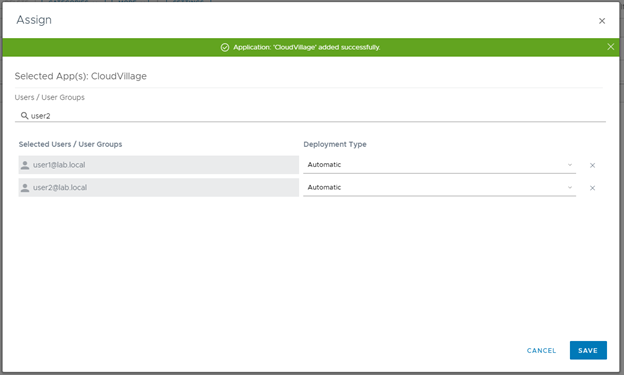
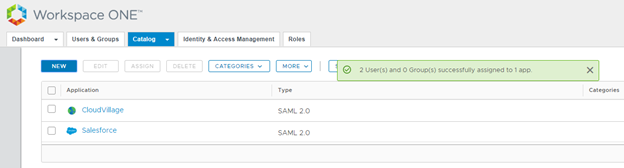
- New Application will be added with assignment.
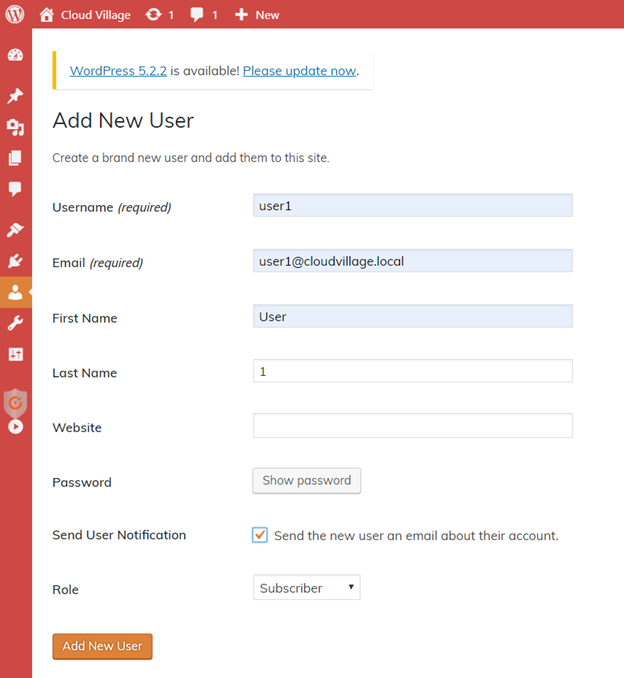
- Create users in WordPress with same users attribute as in directory source.
- Open a new Incognito Browser and access VMware Identity Manager portal and login with test user
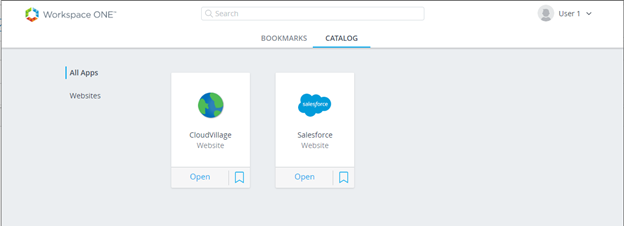
- Click on Web App and it will login automatically.
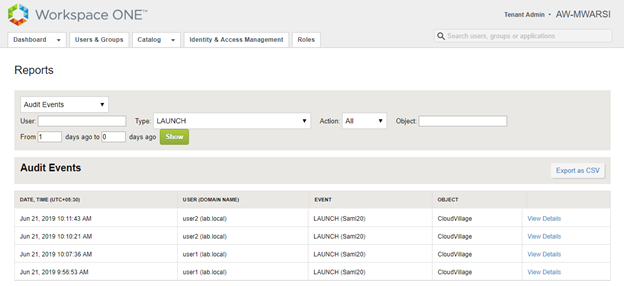
- You can validate the same in VIDM reports. Navigate to Dashboard> Reports
- Select Audit Events and type Launch which shows CloudVillage app under Object and Event as Launch (Saml20) for user1 and user2