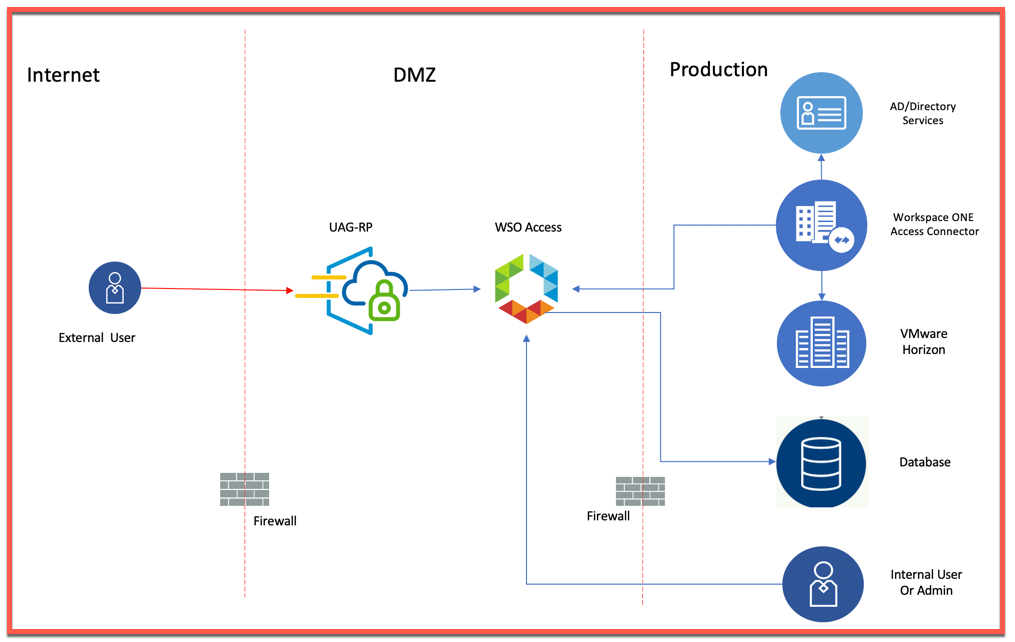
In this How to blog, I will demonstrate about how to integrate NSX-T with VMware Workspace One Access (WS1 Access), formally known as VMware Identity Manager (vIDM). With this integration, you can leverage on your AD accounts to login to NSX-T which will help in avoiding/managing the use of local accounts as well as in auditing also. Before we dive into this integration, there are certain pre-requisite which we should be completed. This integration is explained below in four parts:
- Create oAuth Client for NSX-T Integration
- Fetching VMware WS1 Access Fingerprint
- Enable VMware Ws1 Access integration with NSX-T
- Assign Role and Test Permission
Create oAuth client for NSX-T Integration
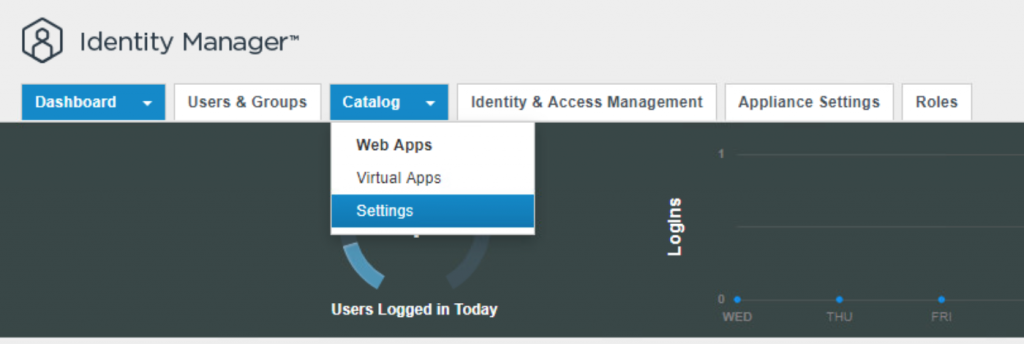
- Login to VIDM and navigate to Catalog > Settings.
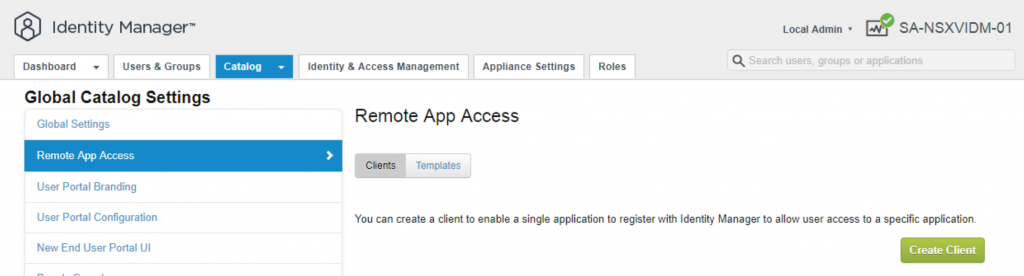
- Select Remote App Access in left panel and click on Create Client.
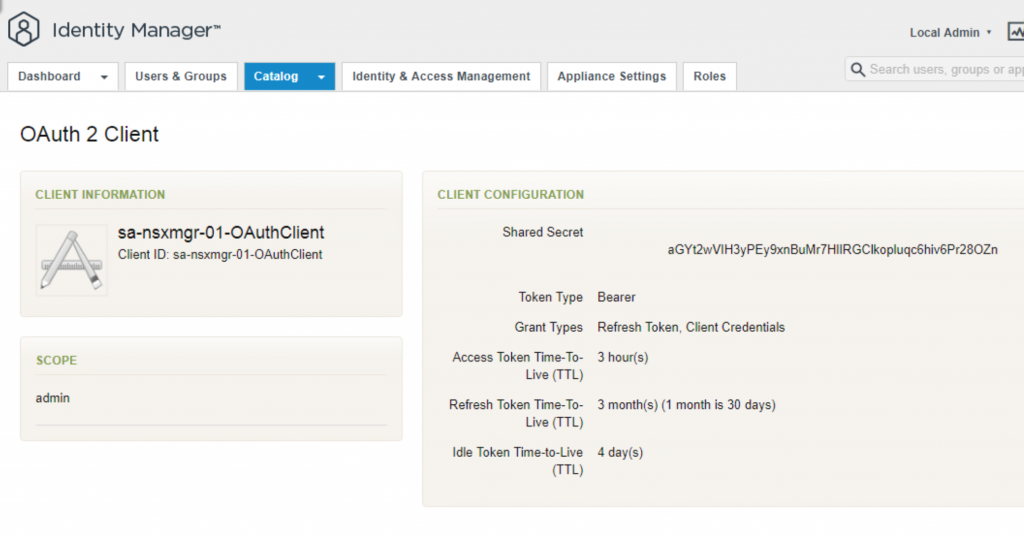
- Enter the required information Access type, Client ID as shown in snapshot. Click on Generate Shared Secret and copy the secret to be used later.
- Click on Add
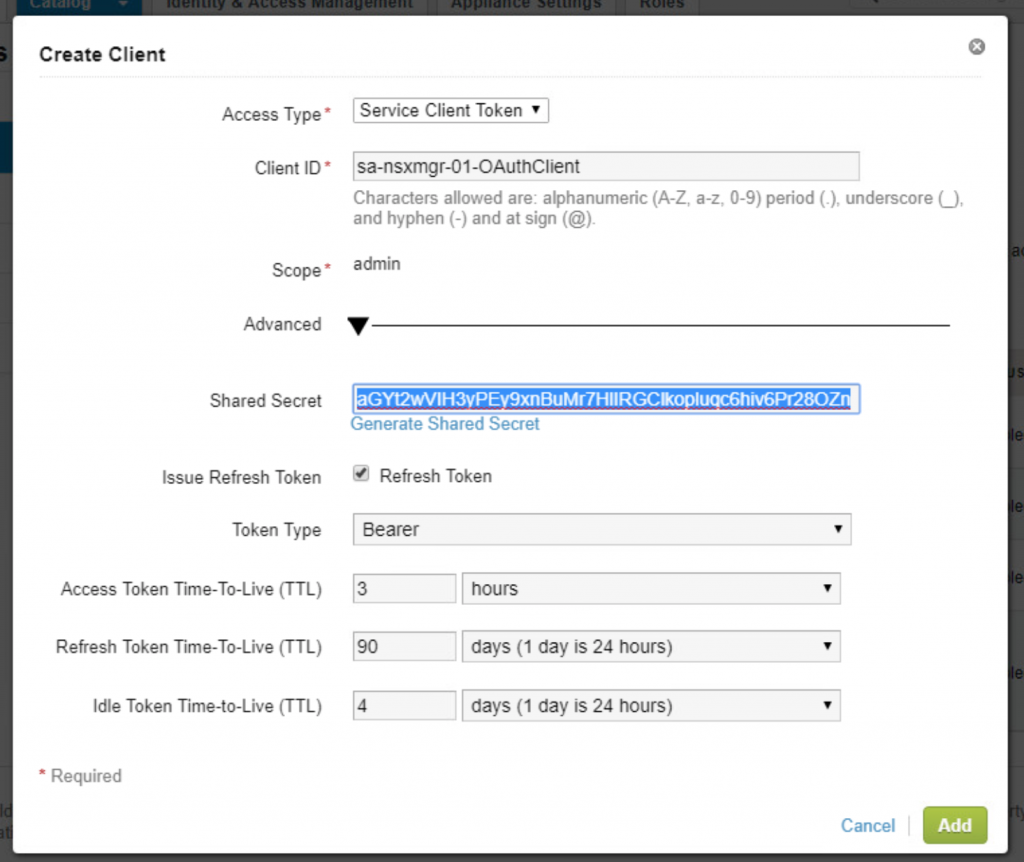
- Once added, verify the OAuth client details. With this we are done with creating OAuth client to be used in NSX-T.
VMware WS1 Access Fingerprints
- In order to get the fingerprint go VIDM, we need to login using SSH to VIDM manager and follow below steps.
- Using any SSH client (putty), login to VIDM and switch user to root.
- Change directory to /usr/local/horizon/conf
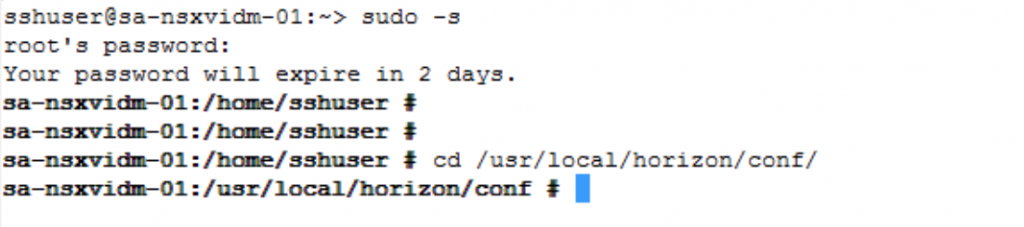
- Enter openssl command to get the fingerprint of the VDIM Manager.
openssl x509 -in <FQDN_VIDM> -noout -sha256 -fingerprint

- Copy this Fingerprint to be used later in NSX-T configuration.
Enable VIDM integration with NSX-T
Now, we have all the data which is required from VIDM, lets start with the configuration in NSX-T
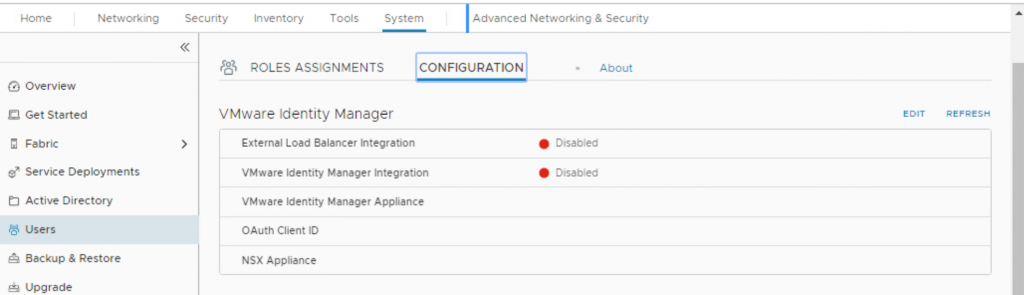
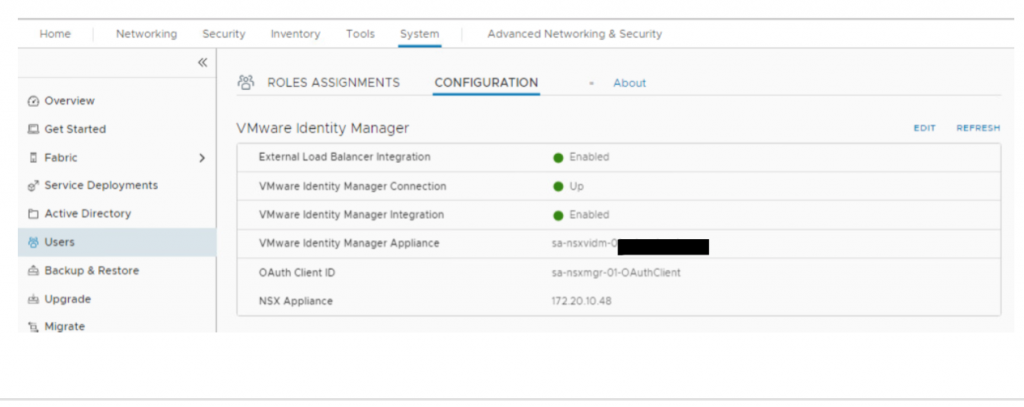
- Login to NSX-T with admin user and navigate to System>Users>Configuration
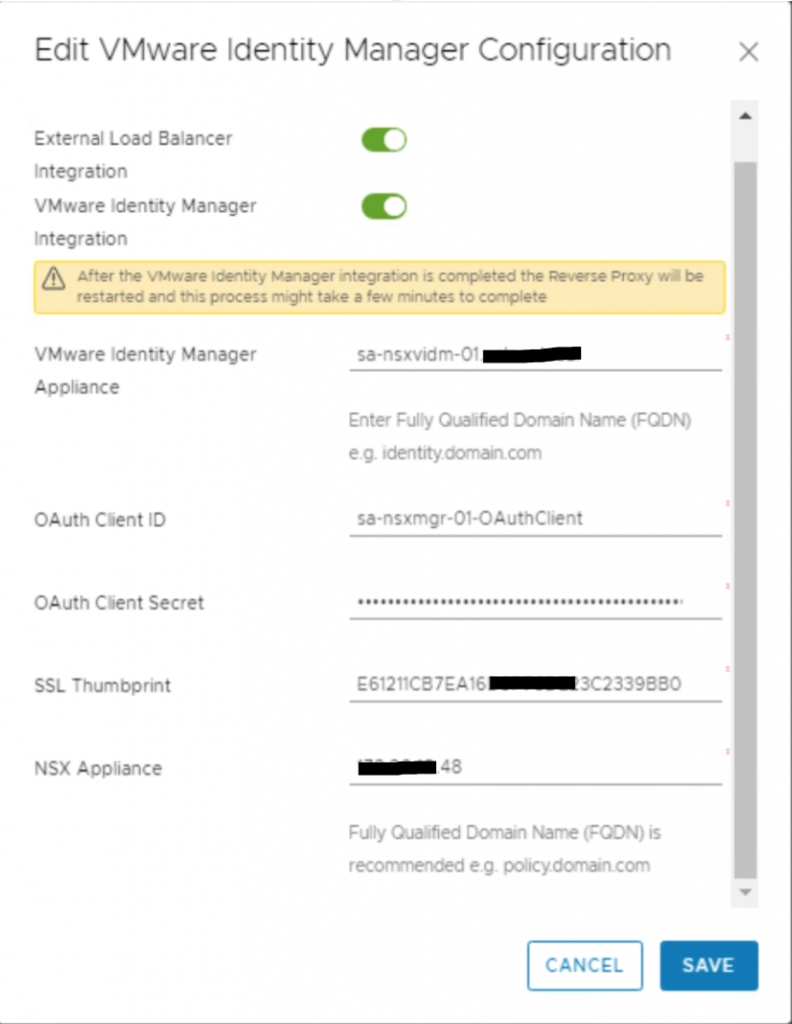
- Click on EDIT. A popup wizard will open.
- Toggle the External Load Balancer Integration and VMware Identity Manager Integration.
- Enter FQDN for VIDM appliance in VMware Identity Manager Appliance.
- Paste the OAuth Client ID & secret which you copied in first section of the article against OAuth Client ID & OAuth Client Secret.
- Paste the SSL Thumbprint which you copied in second section of this article.
- Enter NSX appliance IP/FQDN and click on SAVE.
- Now, you can refresh browser and verify that VIDM integration is Up & Enabled
Assign Role & Test Permission
Now, we need to assign role and verify if this functions correctly or not.
- Login to NSX-T manager with admin console.
Note: If you are logged out of NSX-T manager console, you need to use this URL to login with local admin user. https://<nsx-manager-ip-address>/login.jsp?local=true - Navigate to System>Users>Role Assignments
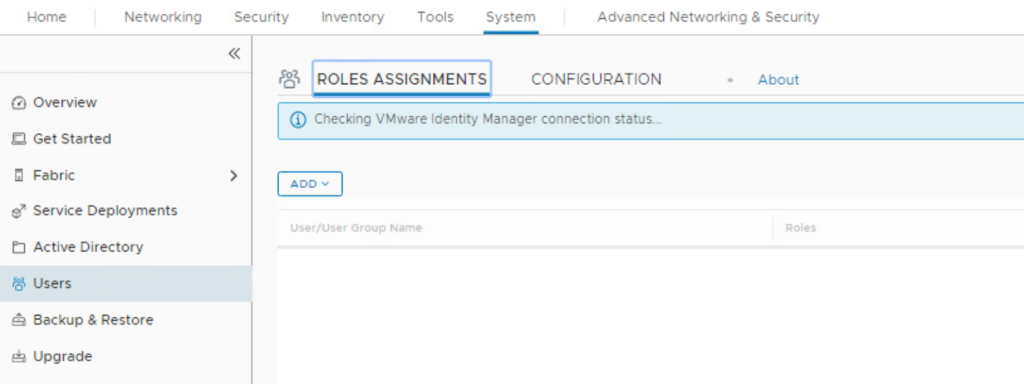
- Click on ADD then Role Assignment
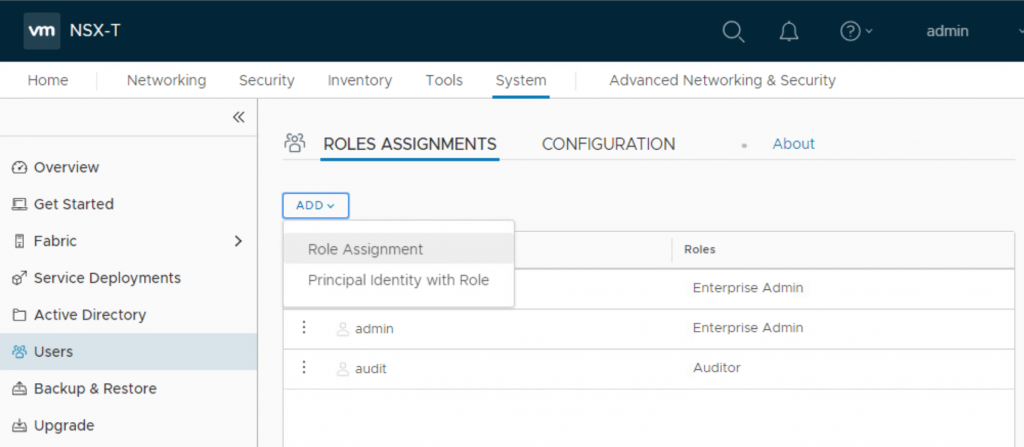
- Enter the name of User and select the same once it appears in list.
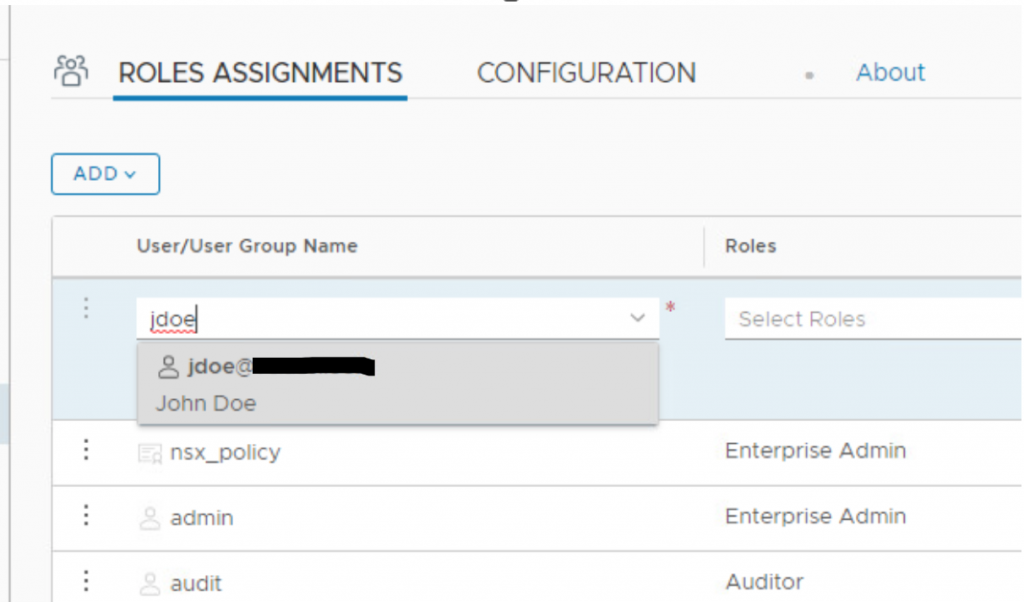
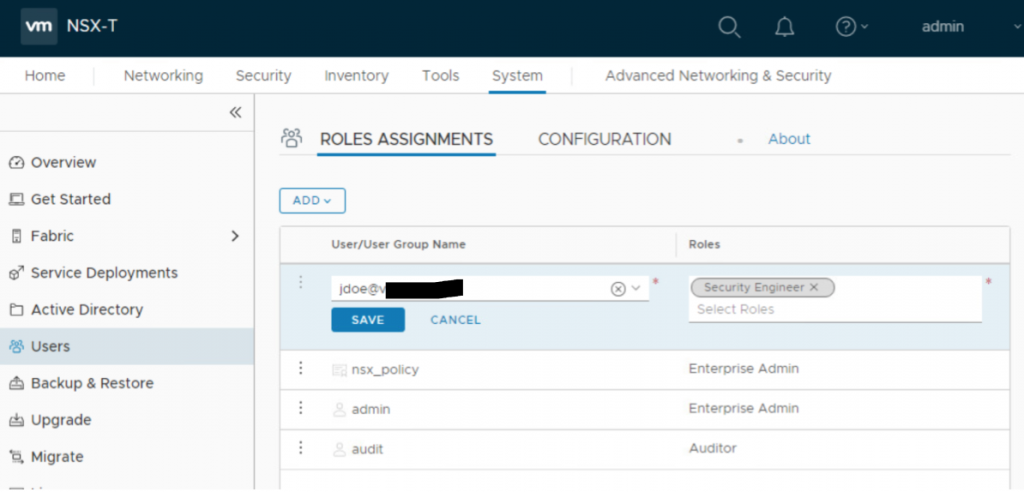
- Select the desired role from Roles drop down list.
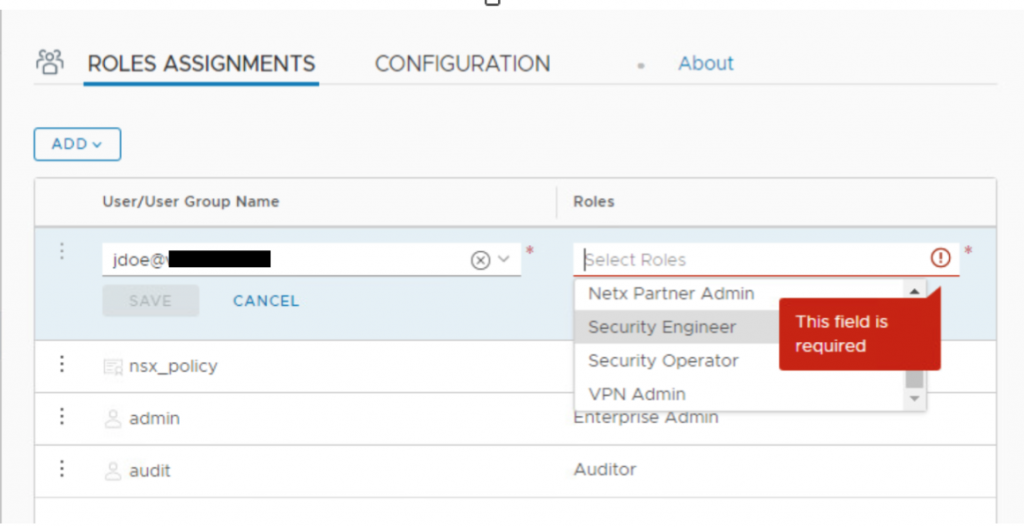
- Once done, click on Save
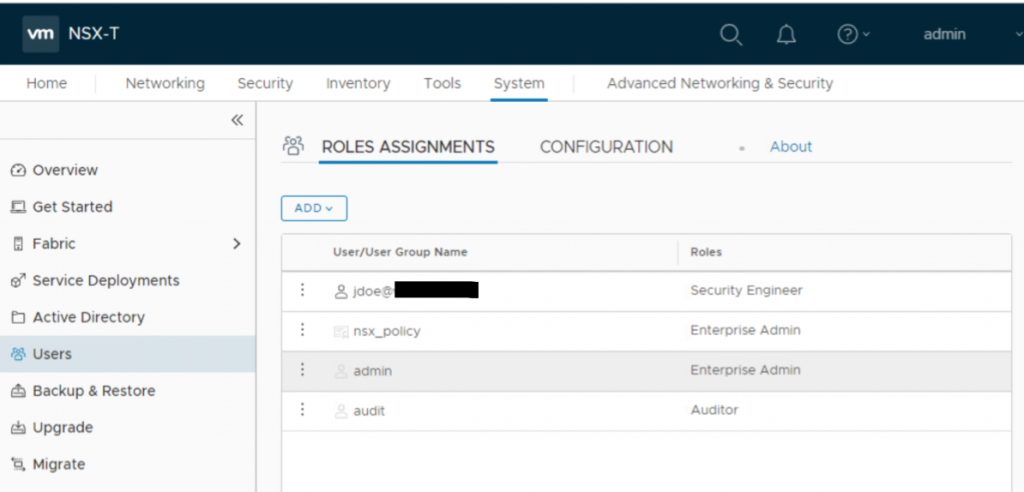
- Verify the user is added to list with desired Role.
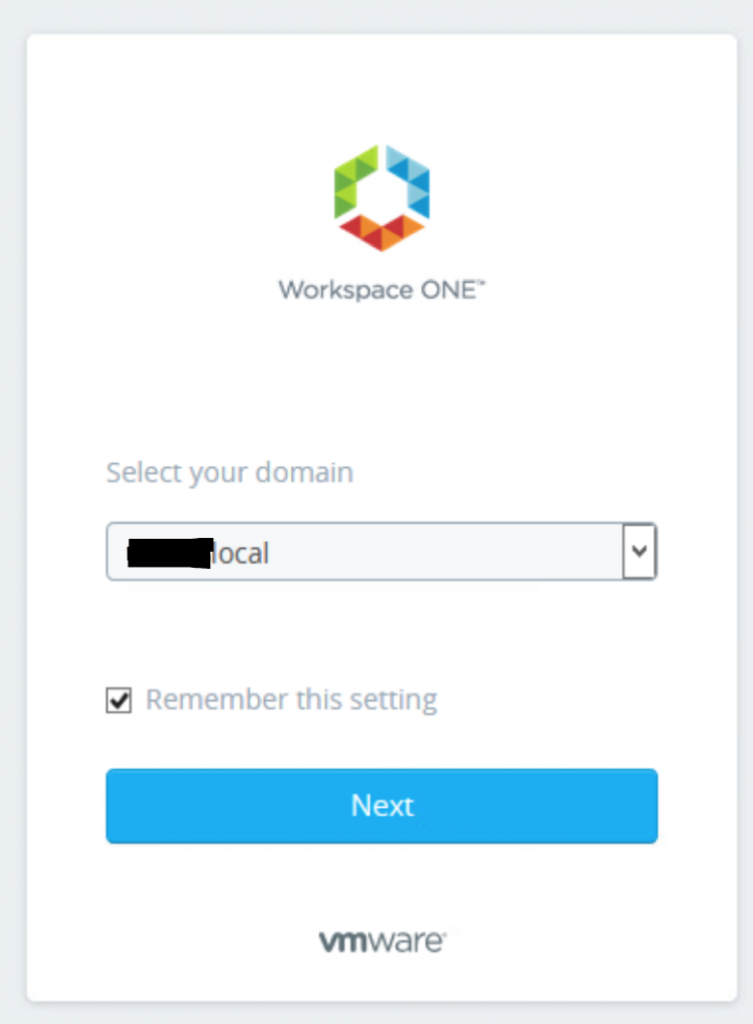
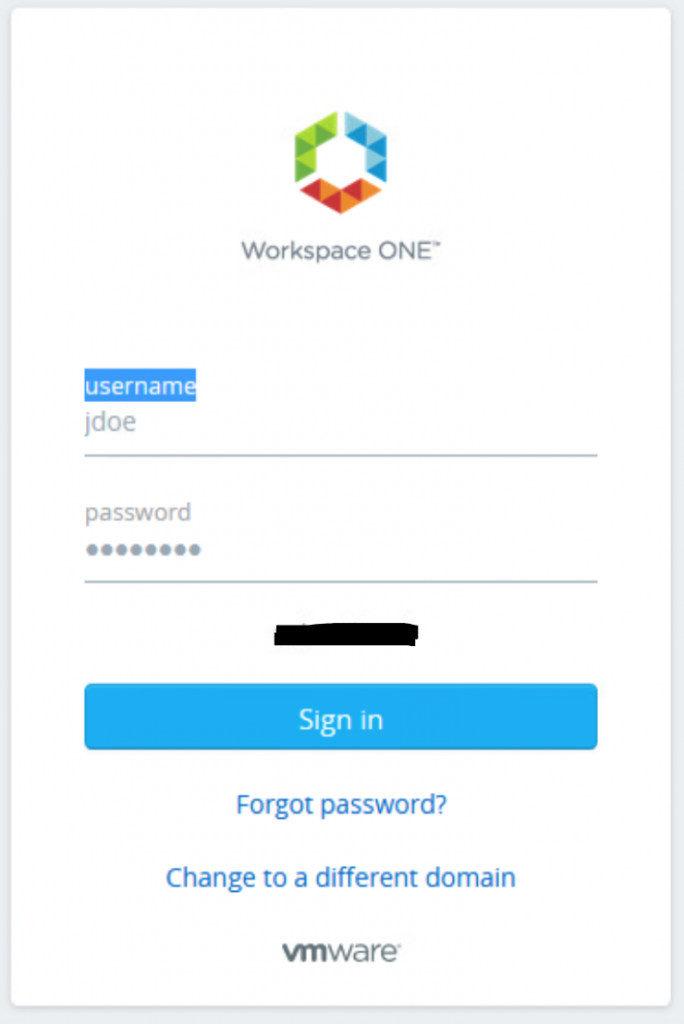
- Launch a new browser and enter the NSX-T manager URL. Click on Next post domain selection.
- Enter the credential for the user and click Sign In
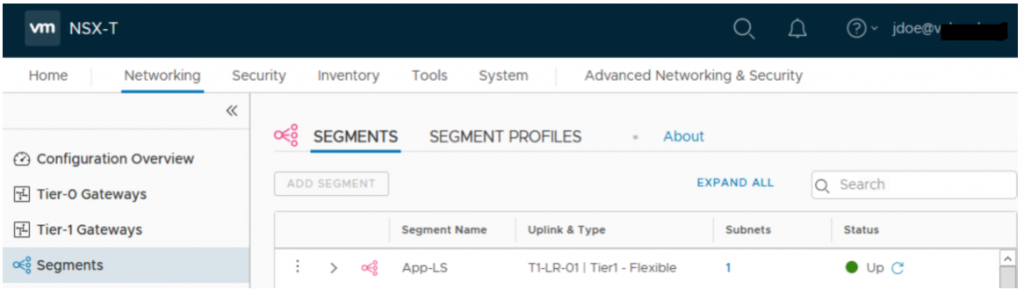
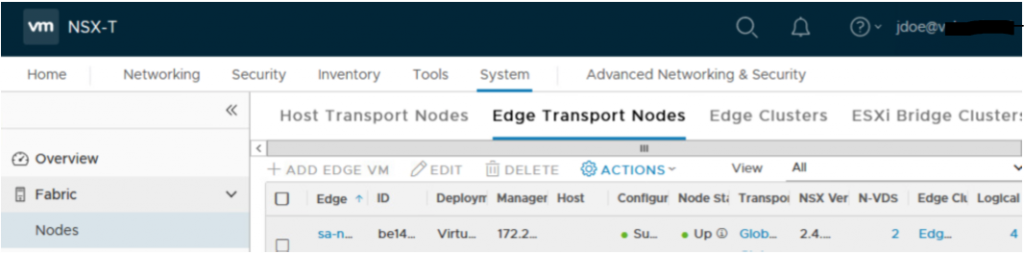
- You can see user is successfully logged into NSX-T portal. You can navigate to different options and see that this user doesn’t have permission to Add Segment or to Add Edge VM
With this, we are done with NSX-T integration with VIDM.