
In this article, I am going to discuss how to configure WS1 Access as IdP for OKTA in which we already have an application (Salesforce) configured for authentication.
To carry out this demonstration, there are certain requirements for which I have setup a mini lab environment with following components:
- On-premises Active Directory
- OKTA developer tenant (Cloud)
- OKTA AD agent VM (On-premises)
- VMware WS1 Access Tenant (Cloud)
- VMware WS1 Connector (On-premises)
- Salesforce developer account
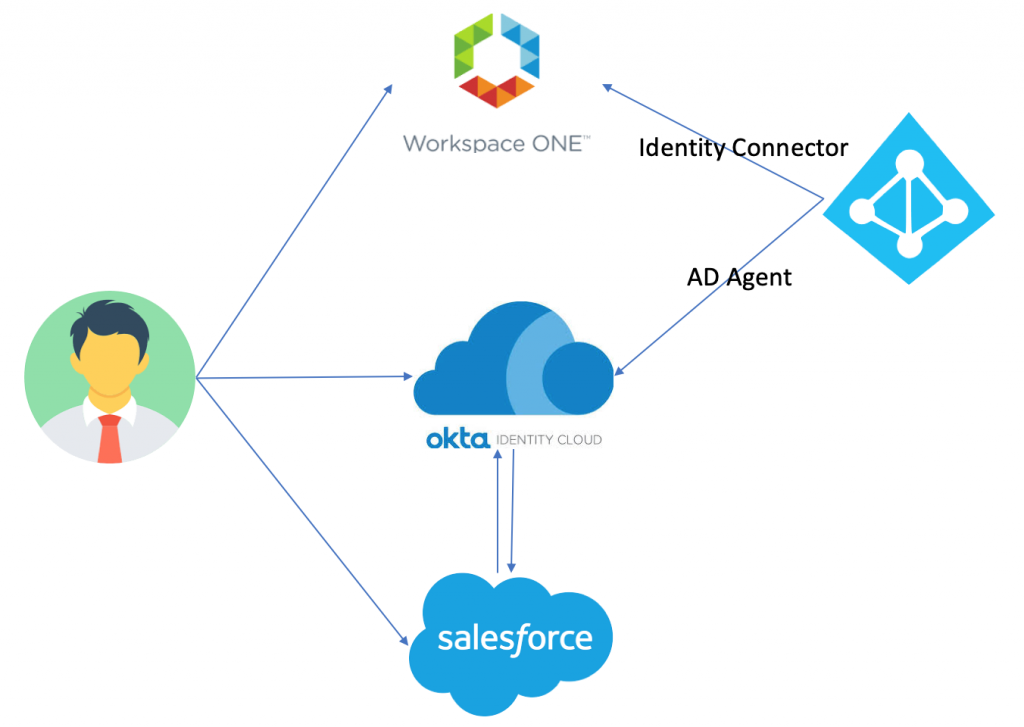
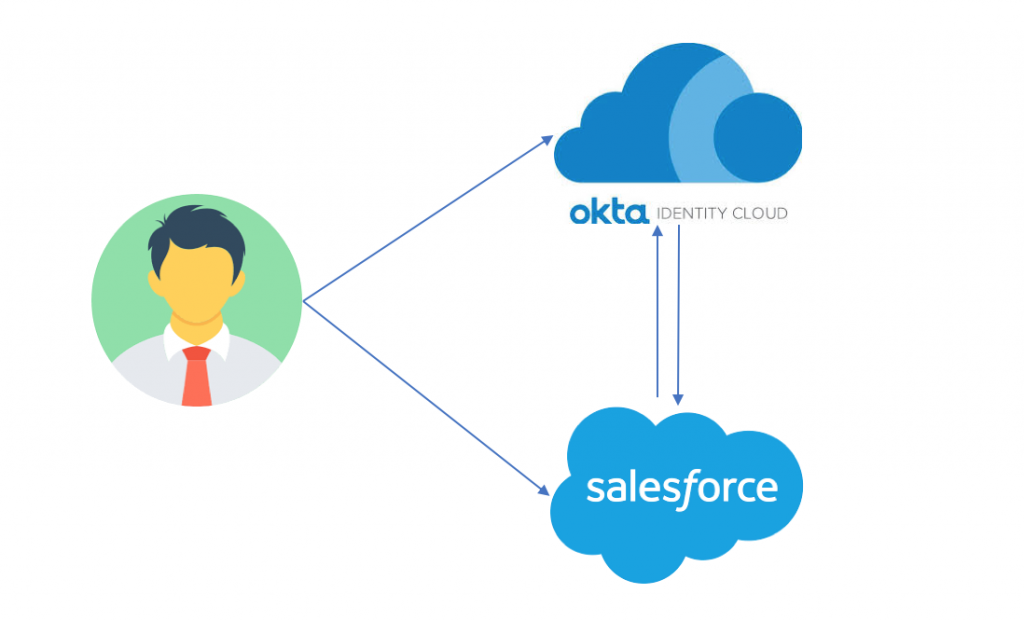
As shown in above diagram, I have
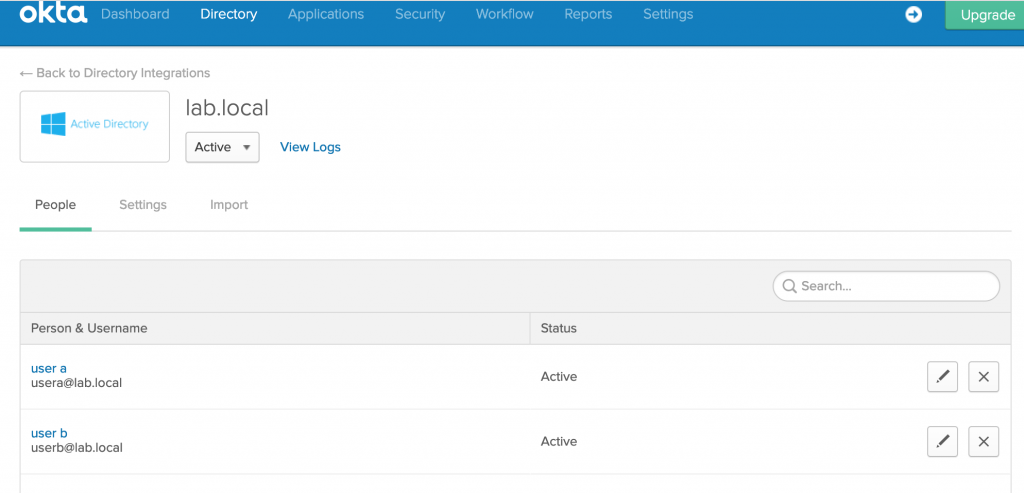
- An OKTA developer account which is integrated with LAB Active Directory with users (user a & user b) synced.
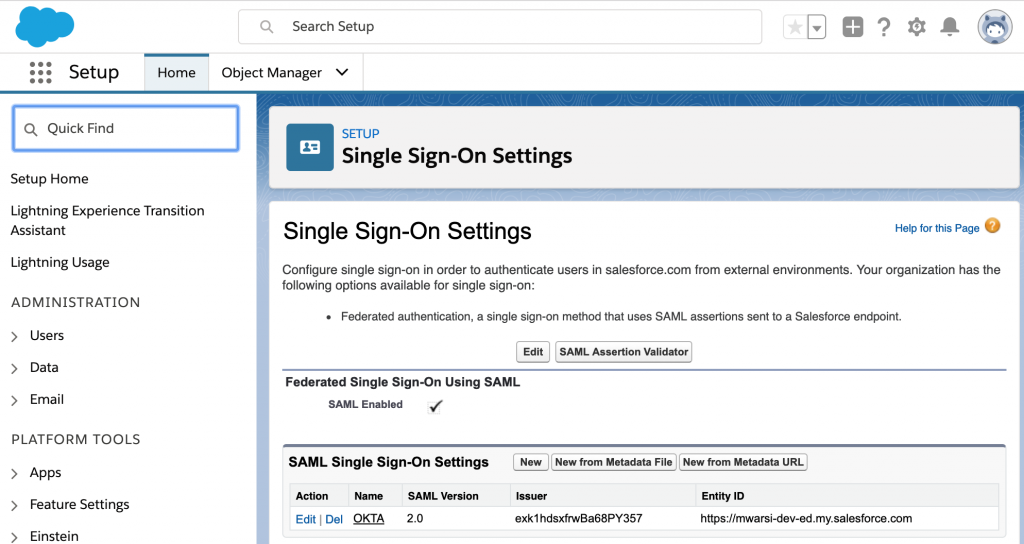
- A Salesforce developer account integrated with OKTA for authentication
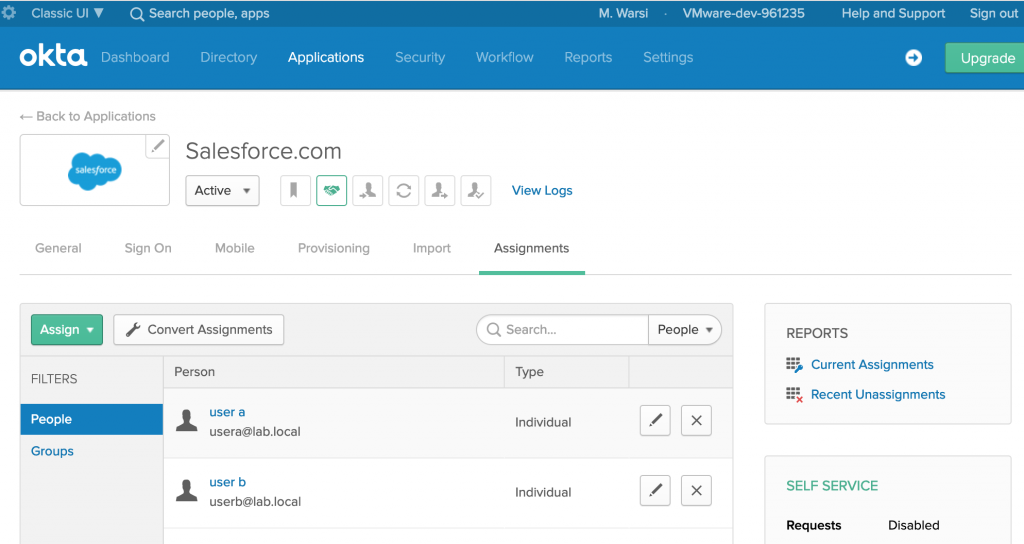
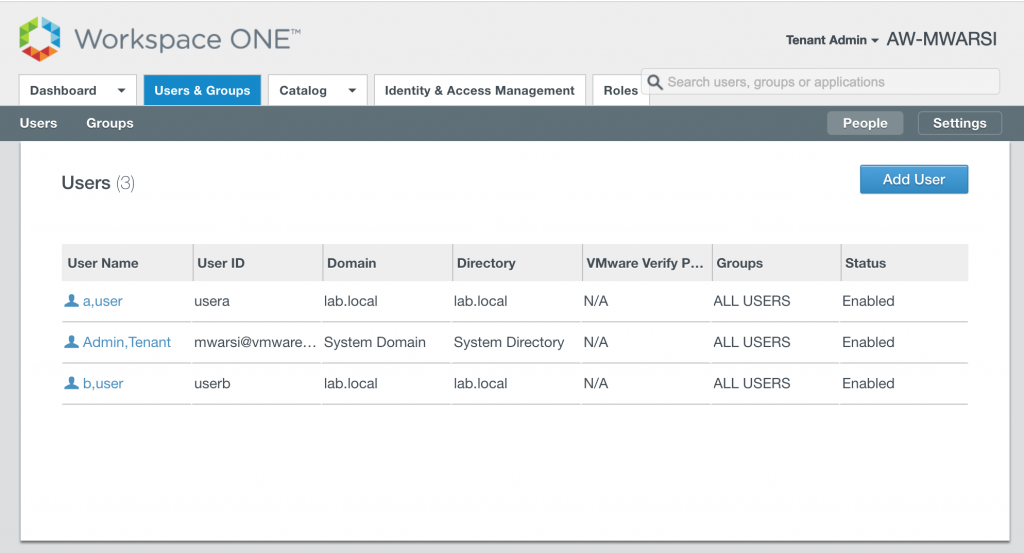
- Two users are entitled on Salesforce app as shown below
- VMware WS1 tenant synced with same Active Directory as OKTA
Current authentication flow are IdP initiated or SP Initiated:
- User can access Salesforce using OKTA portal which is acting as IdP.
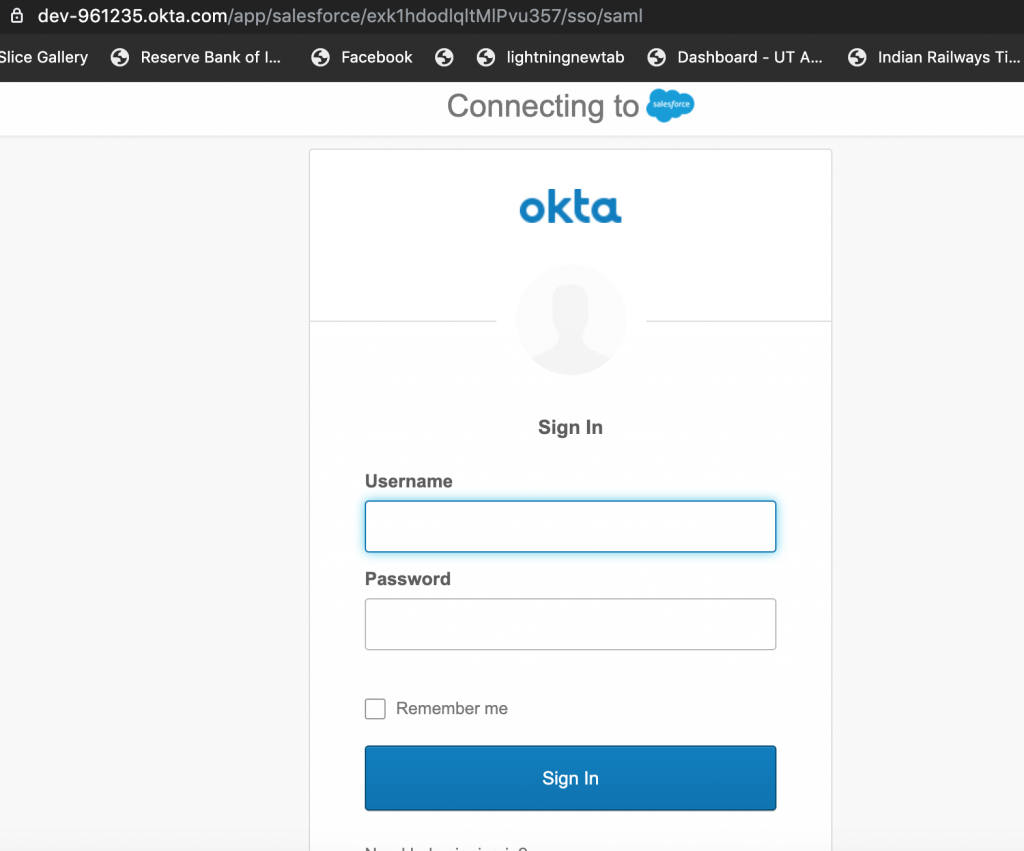
- User can access Salesforce directly which in-turn redirects to OKTA for authentication (SP-Initiated flow).
I am going to integrate WS1 Access as IDP for OKTA and depending upon how user accesses the application, authentication flow will be as follows:
- WS1 Access > OKTA > Salesforce.
- OKTA > WS1 Access > OKTA > Salesforce
- Salesforce > OKTA > WS1 Access > OKTA > Salesforce

Note: Users can authenticate to Salesforce using OKTA as IDP as shown below and Users don’t SFDC application in WS1 catalog till now.
Let’s start with the process of integration which is in 5 steps:
- Download IdP metadata & Signing certificate from VMware WS1 Access.
- Configure VMware WS1 Access as IDP in OKTA
- Download Metadata from OKTA
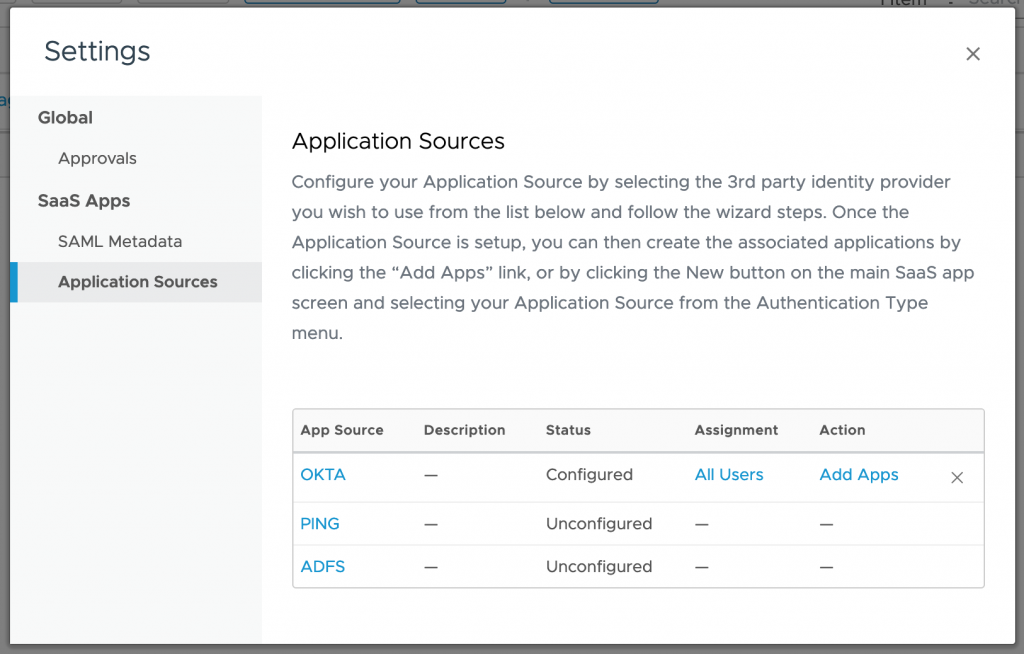
- Add OKTA as Application Source in VMware WS1 Access
- Define routing rule in OKTA to use VMware WS1 Access for authentication
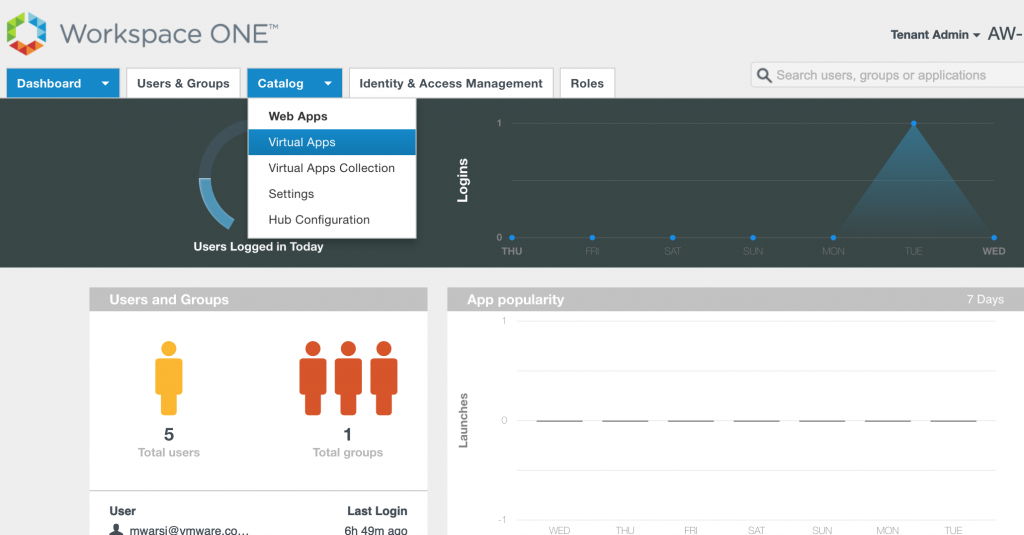
- Login to VMware WS1 Access and navigate to Catalog>Virtual Apps
- Click on SETTINGS
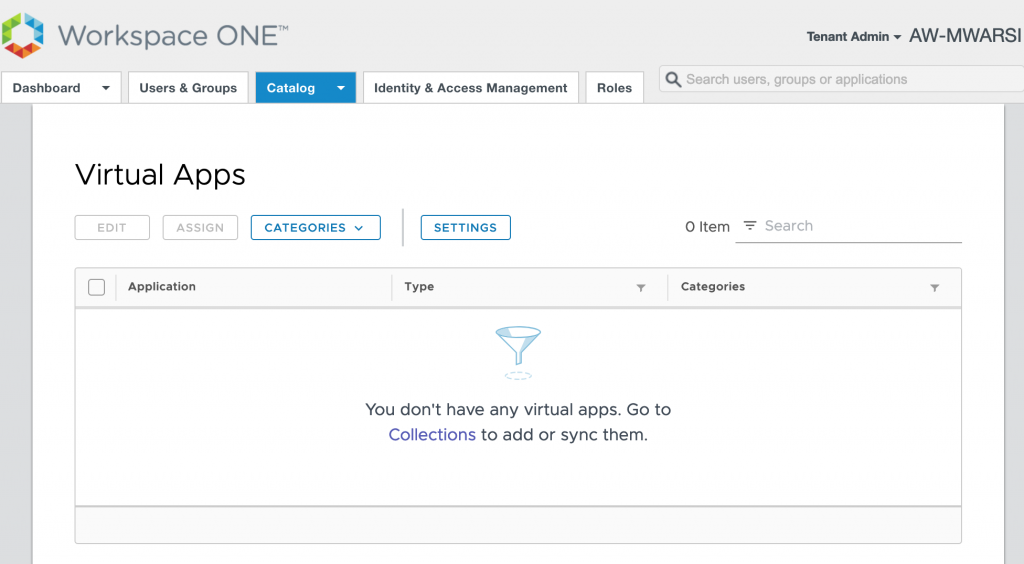
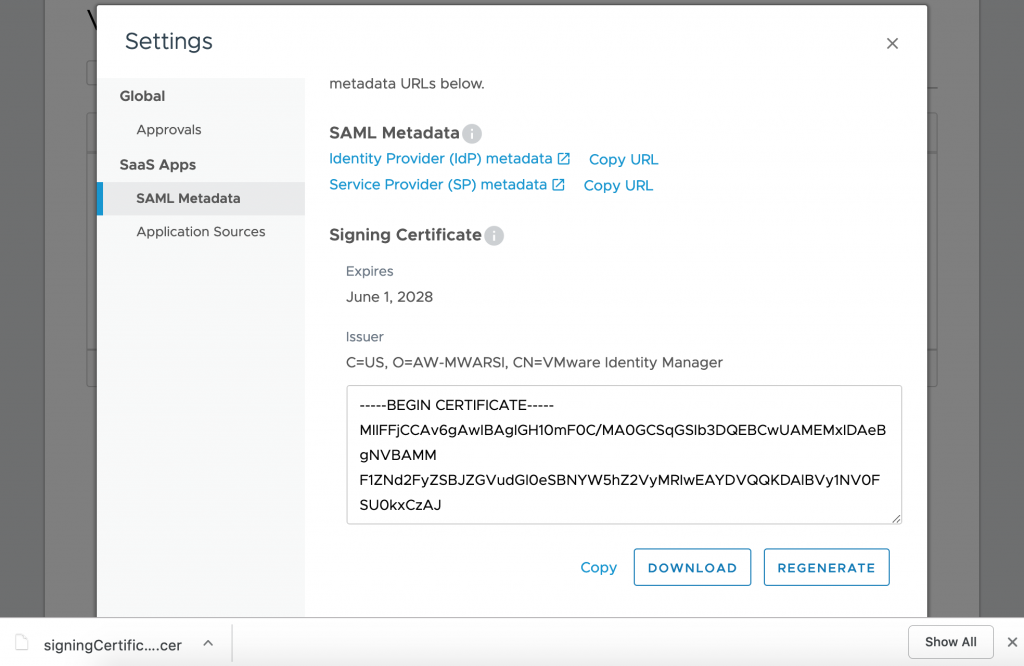
- Select SAML Metadata on left hand side and click on Identity Provider (IdP) metadata to open the same in new tab as well as click on DOWNLOAD button to download signing certificate.
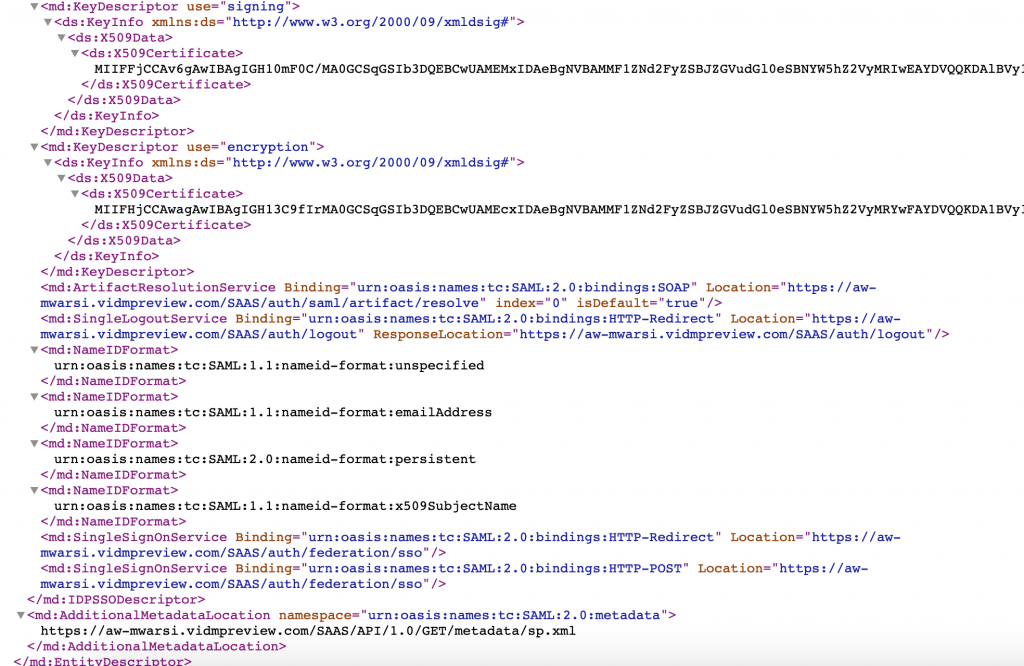
- IdP metadata will get open in other tab. we need the entityID & HTTP-Redirect URL to be used in OKTA config in coming steps.
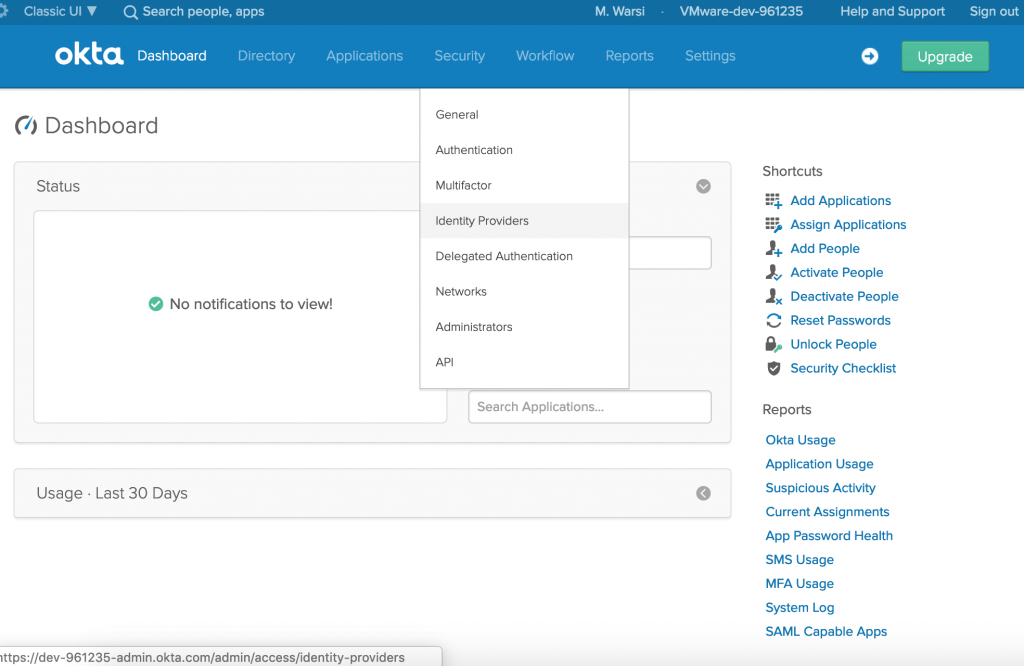
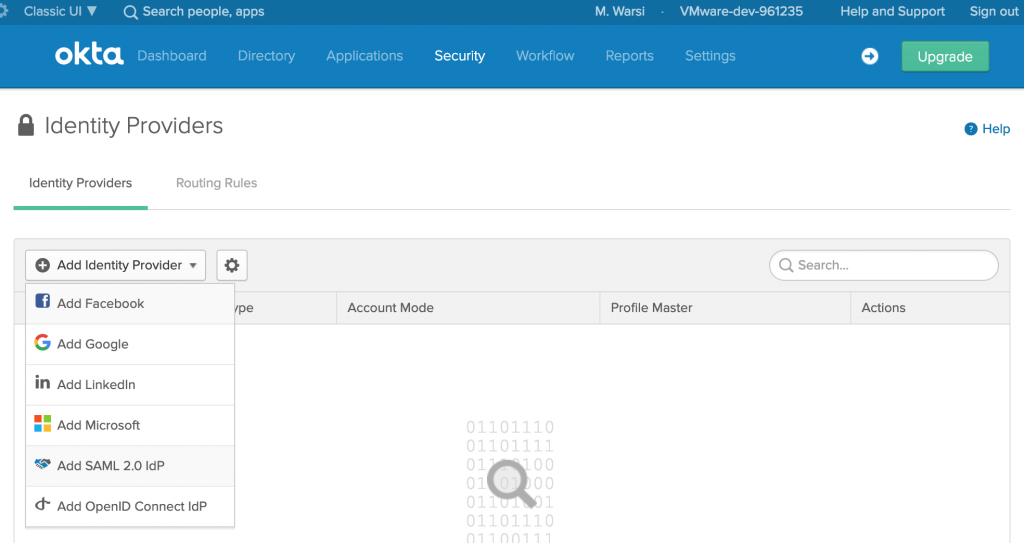
- Login to OKTA and navigate to Security> Identity Providers
- Click on Add Identity Provider and select Add SAML 2.0 IdP
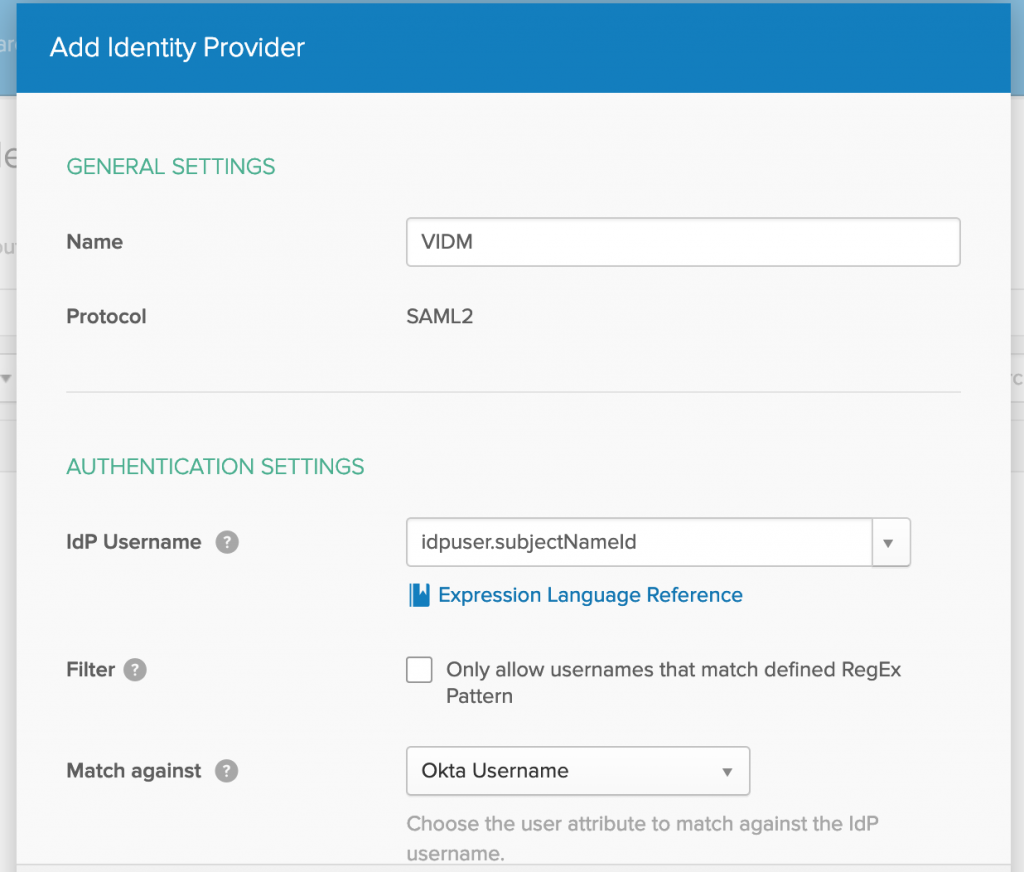
- Enter a Name for provider, I have used the old name of WS1 Access, bad habits doesn’t go easily.
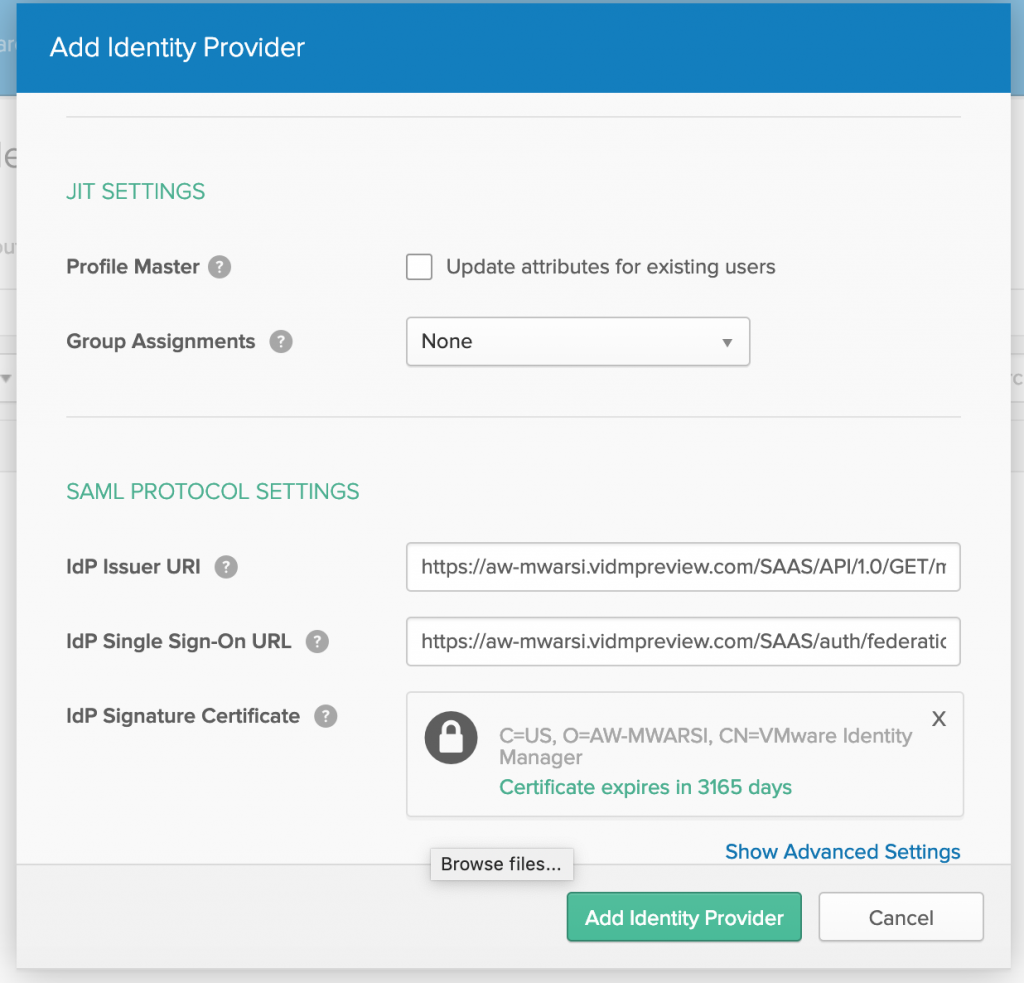
- Paste entityId in IdP issuer URI, HTTP-Redirect to IdP Single Sign-On URL and browse Signing certificate which you downloaded from VMware WS1 Access and click on Add Identity Provider
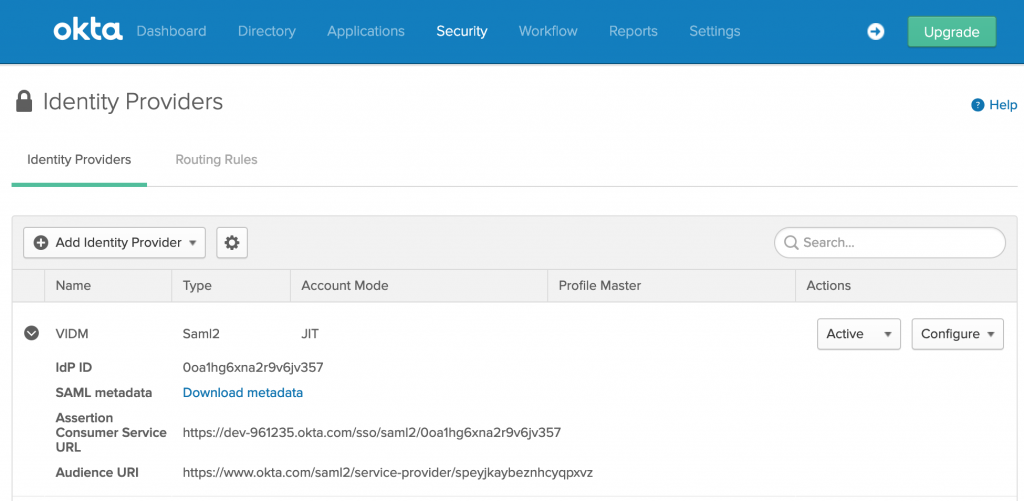
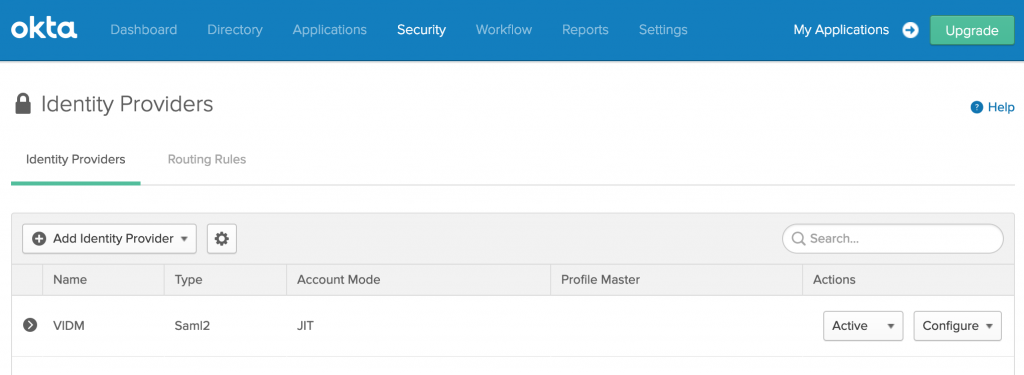
- You will see IdP is configured, click on added IdP and click on Download metadata.
- Open the metadata in a text editor.

- Login to VMware WS1 Access, navigate to Catalog>Virtual Apps.
- Click on SETTINGS then select Application Sources in left panel and click on OKTA
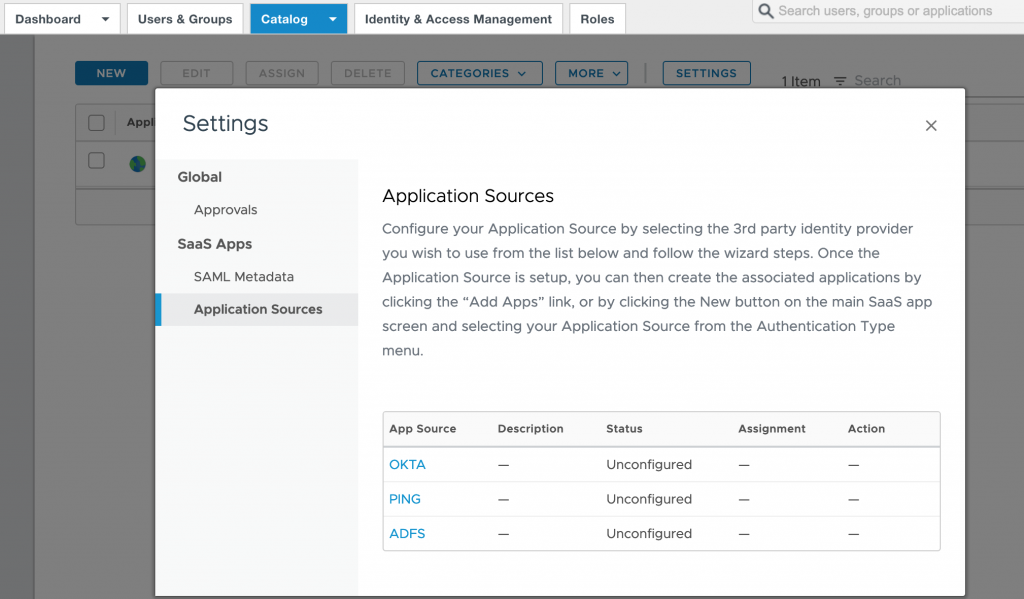
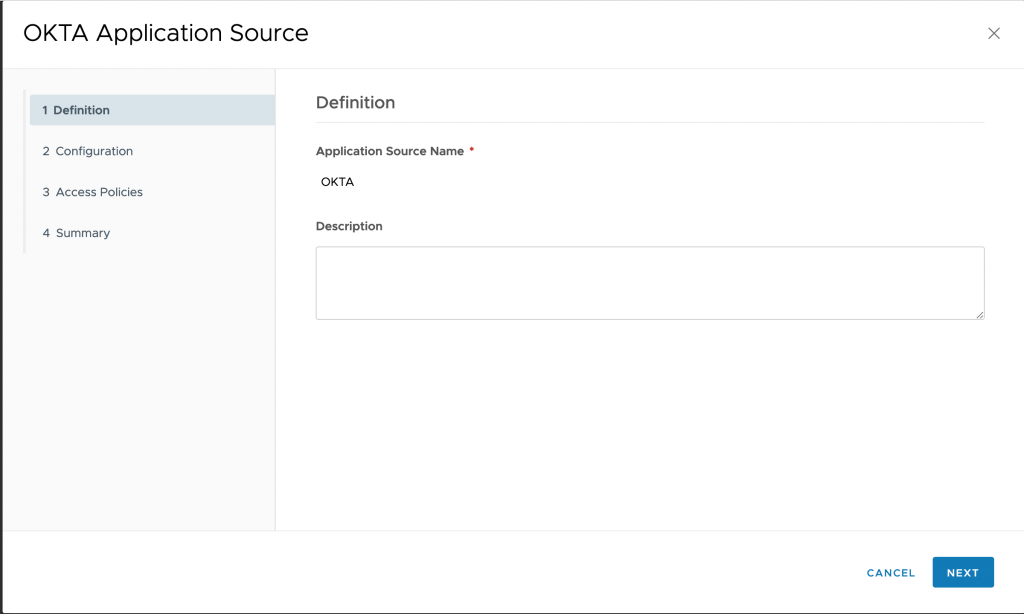
- Provide an Application Source Name and click on Next
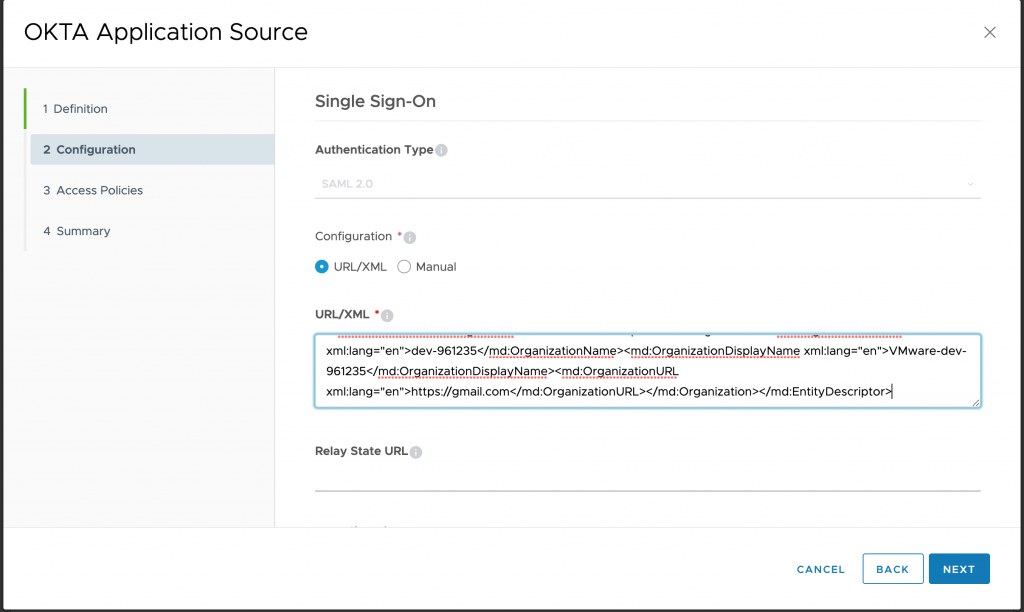
- On configuration page, paste the metadata downloaded from OKTA portal and click on NEXT
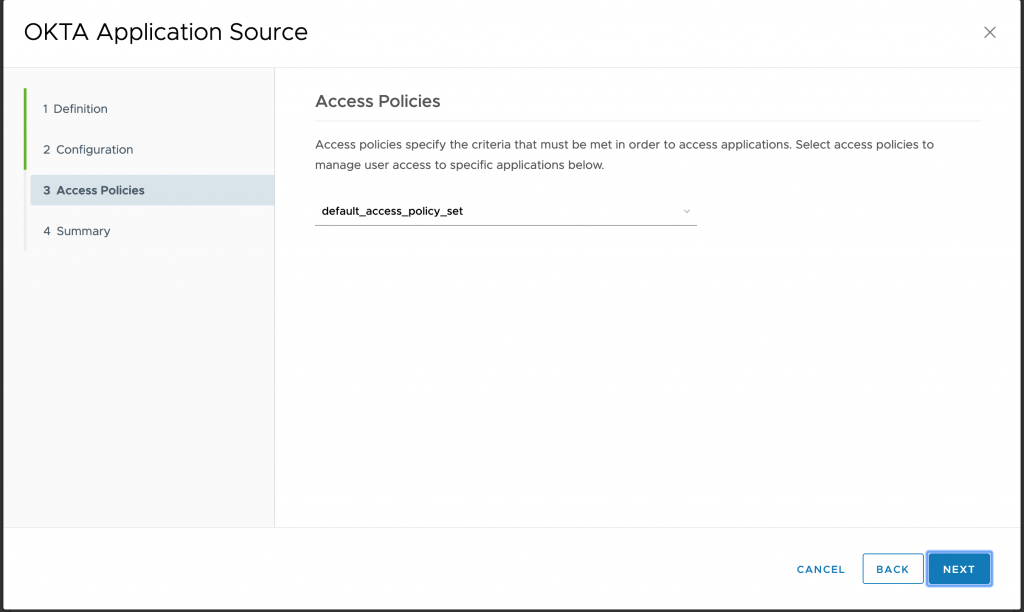
- Select the Access Policies and click on NEXT and then Finish
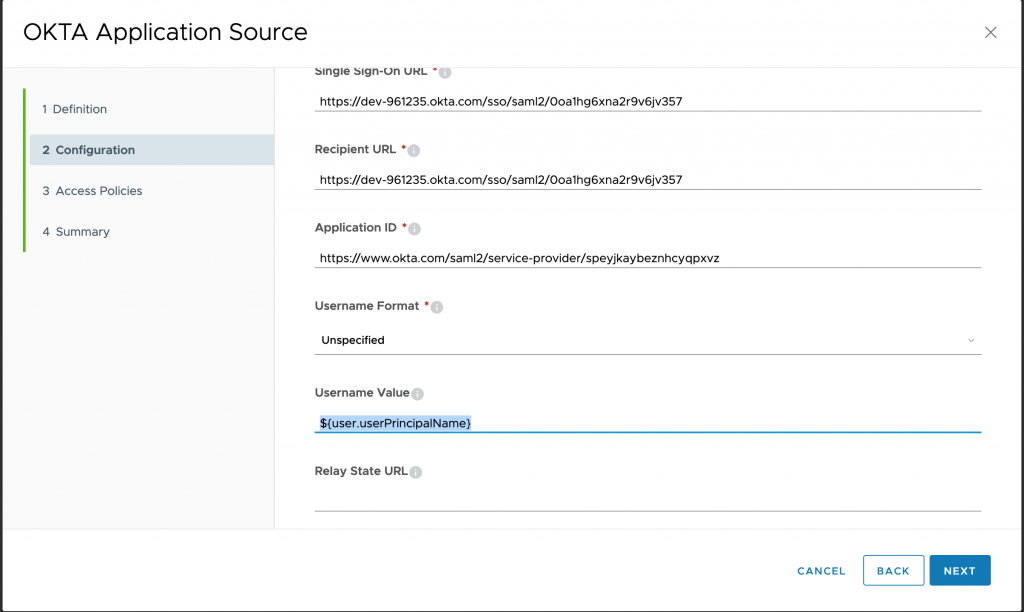
- You can see OKTA is configured, click on OKTA once again to edit it for Username Value.
- In Configuration wizard, update username field to use UserPrincipalName and click Next and Save
- Login to OKTA and navigate to Security> Identity Providers
- Click on Routing Rules > Add Routing Rule
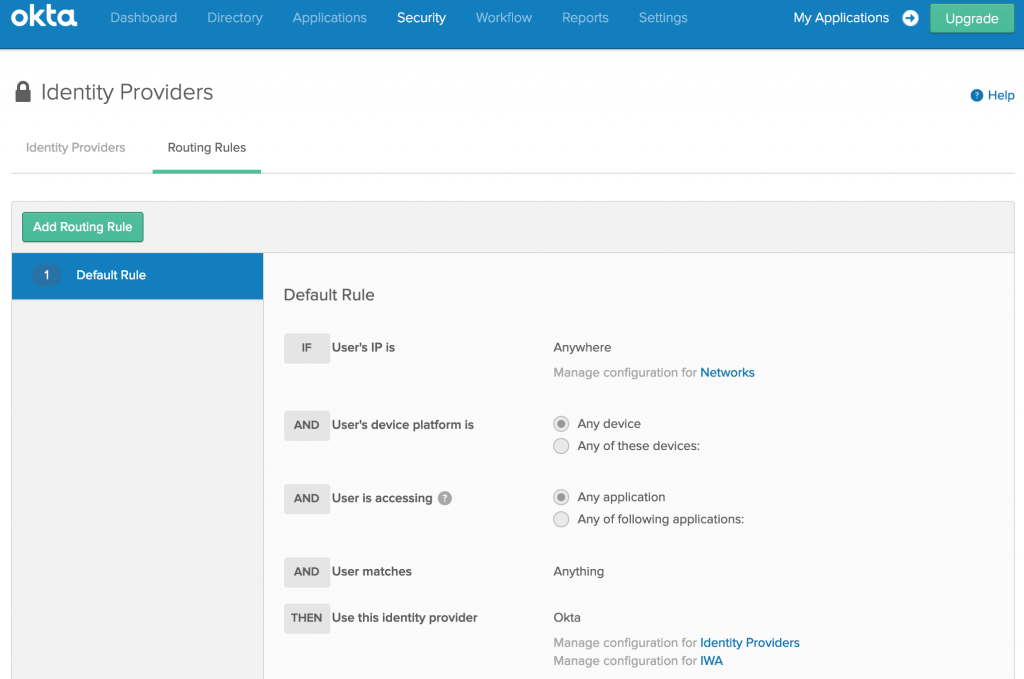
- Provide a Rule Name, and under Identity Provider, select VIDM (name defined for IdP in OKTA). Click Create Rule
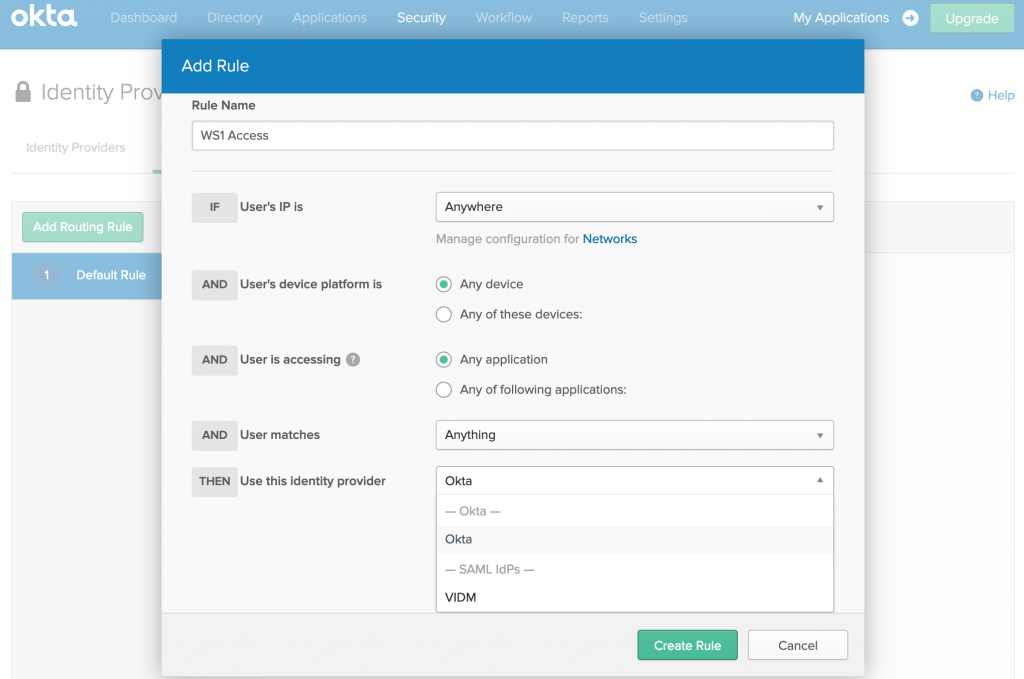
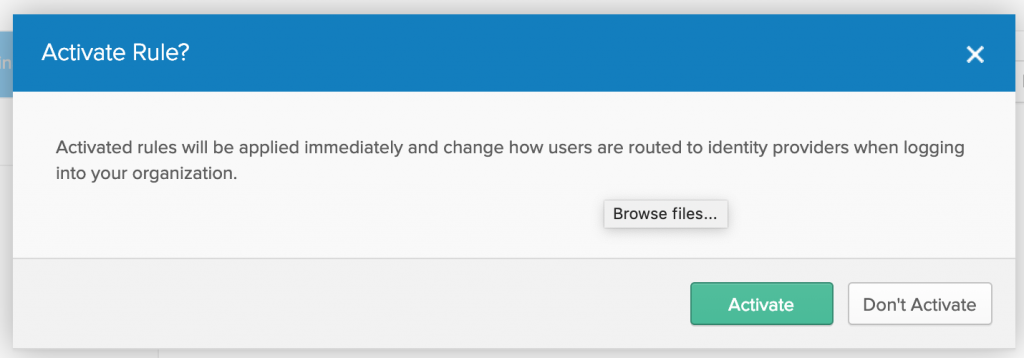
- You will be prompted to activate the rule, Click Activate.
- Now, time to test the integration.
- User enters the Salesforce URL in Browser which redirects the URL to OKTA URL which in-turn redirects to VMware WS1 URL.
- User Authenticates to VMware WS1 Access. Watch below video to understand the flow.
- Other way, if user access OKTA URL which gets redirected to VMware WS1 Access for authentication, once user logs in, user can access the salesforce app. Watch below video to understand the flow.
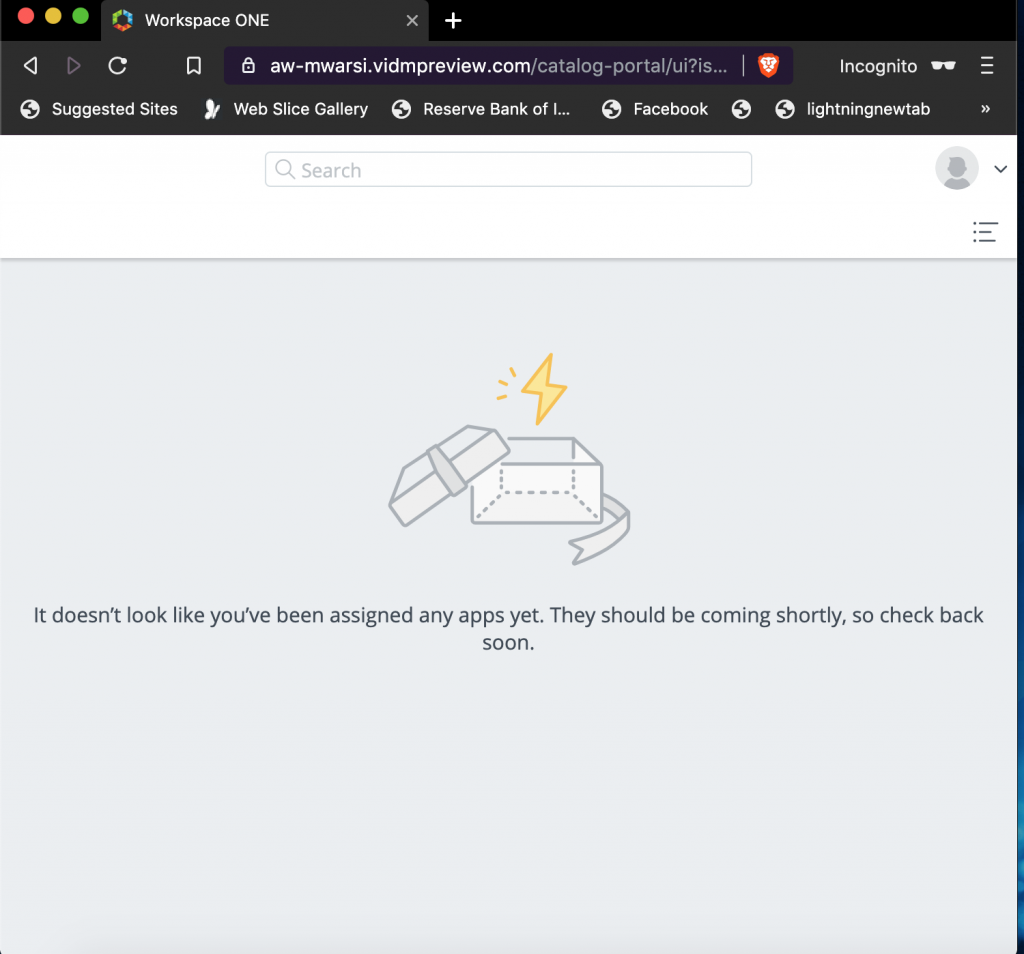
In Order to provide unified catalog of all the application to end users in order to avoid login into OKTA for some apps and WS1 Access for others, we will configure application from OKTA catalog to be published in WS1 Access. As you can see below, if user logs into WS1 Access, he doesn’t see Salesforce. Let us add Salesforce to WS1 Access catalog.
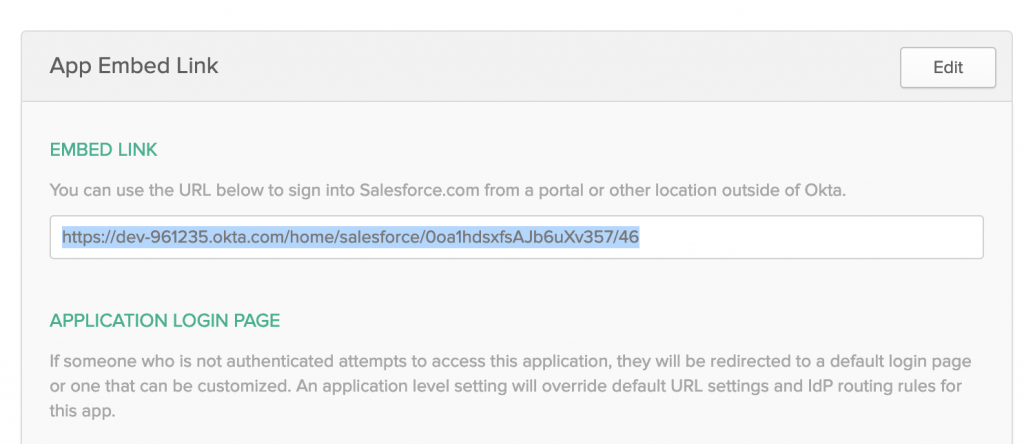
- Login to OKTA admin portal and navigate to Application> Salesforce
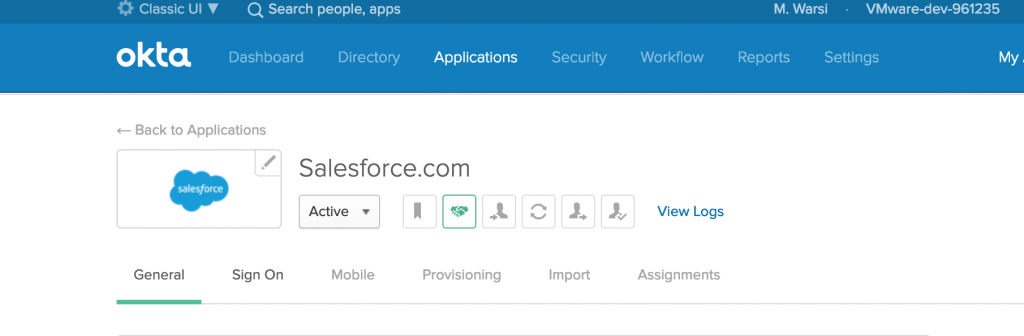
- Scroll down under General Tab, you will find EMBED LINK, copy that URL.
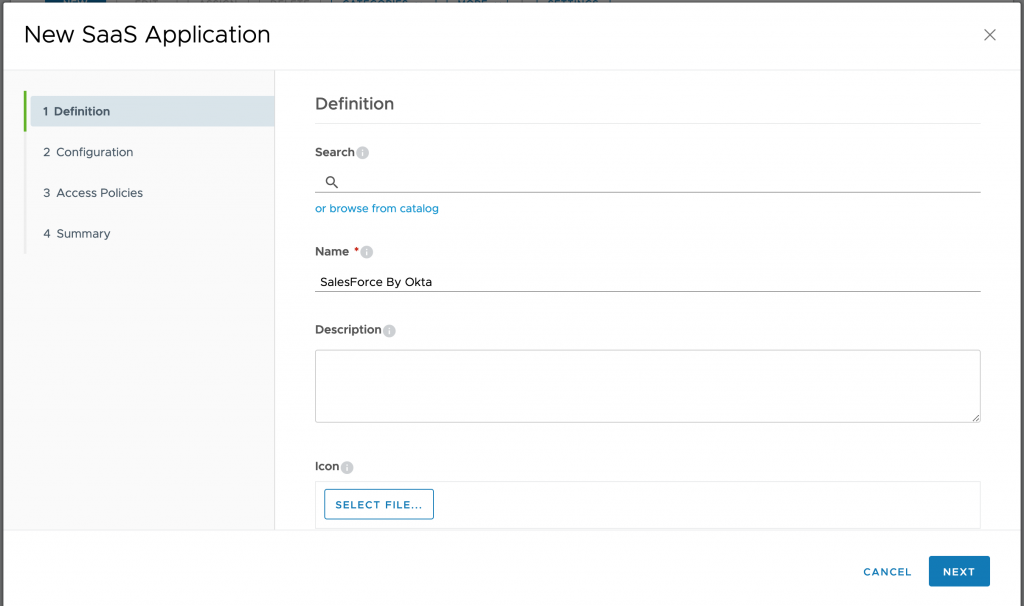
- Login to VMware WS1 Access, navigate to Catalog>WebApps and click NEW
- Provide a Name to Salesforce App click on NEXT
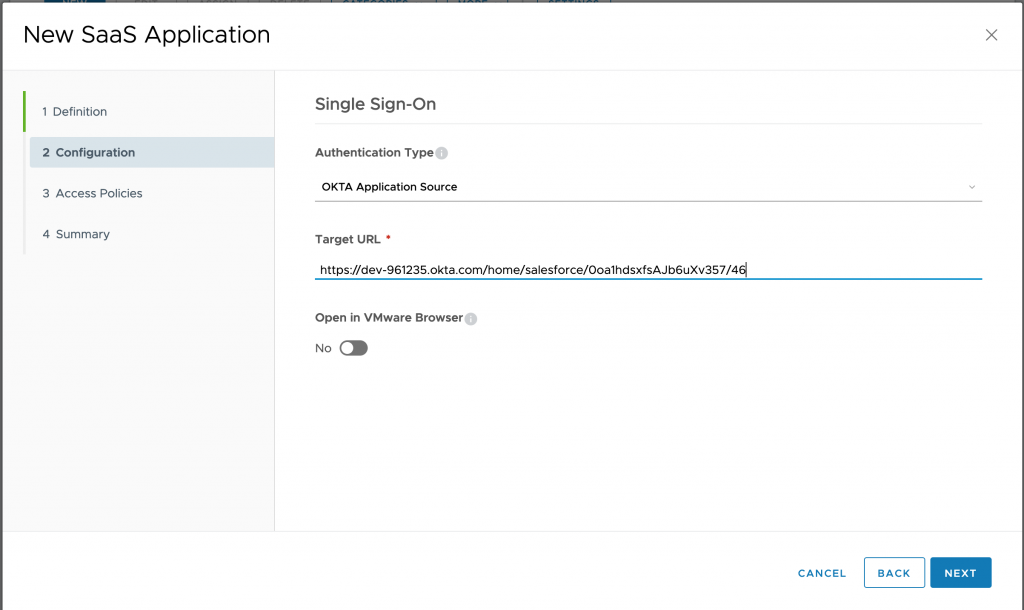
- On configuration Wizard, select OKTA Application Source for Authentication Type. Click NEXT

- Under Target URL, Paste the EMBED LINK URL copied from OKTA and click NEXT
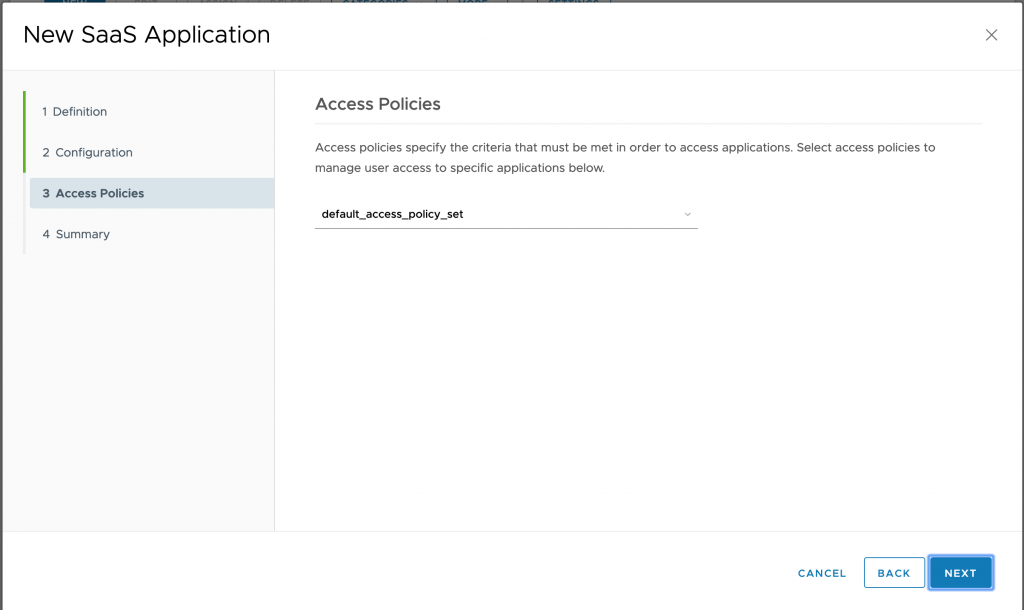
- Select application policy and click NEXT
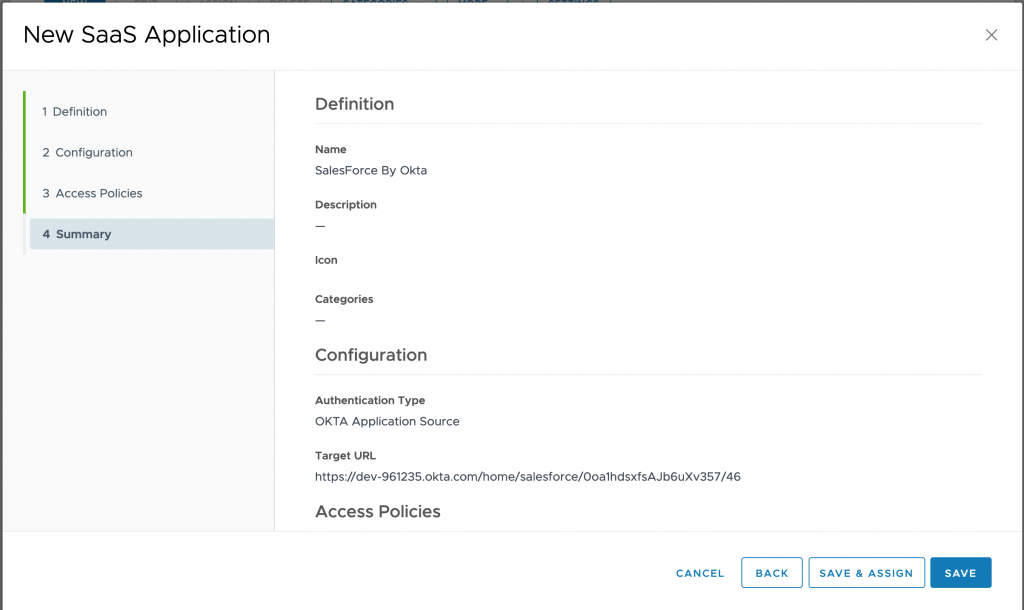
- Verify config under Summary and click on SAVE & ASSIGN
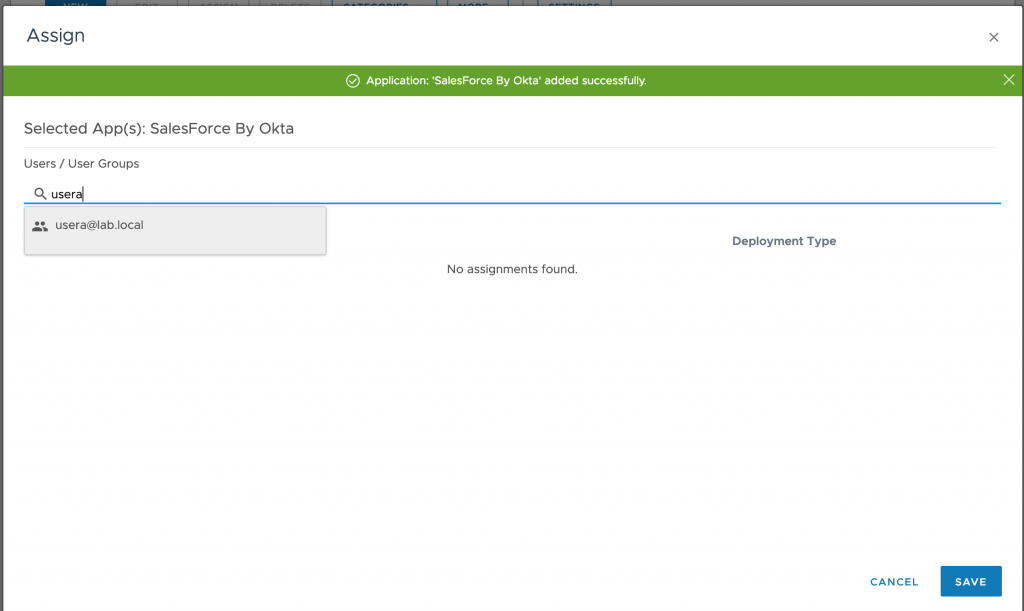
- Assign the users who does have access to Salesforce. I have done it for usera here. and click on SAVE
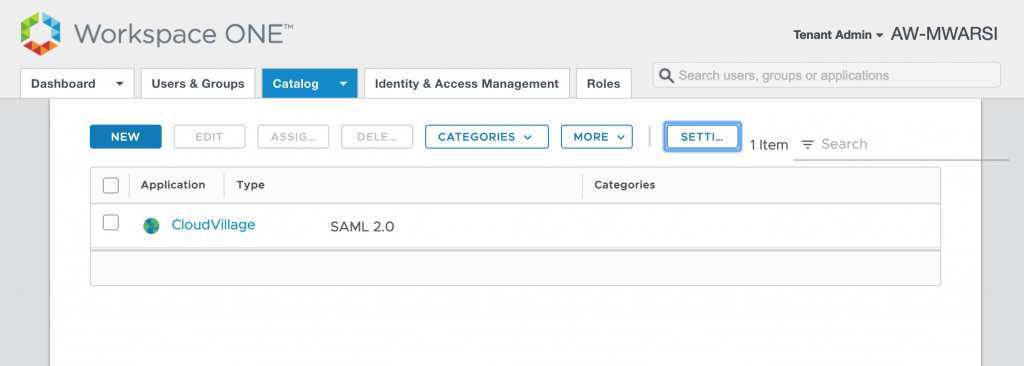
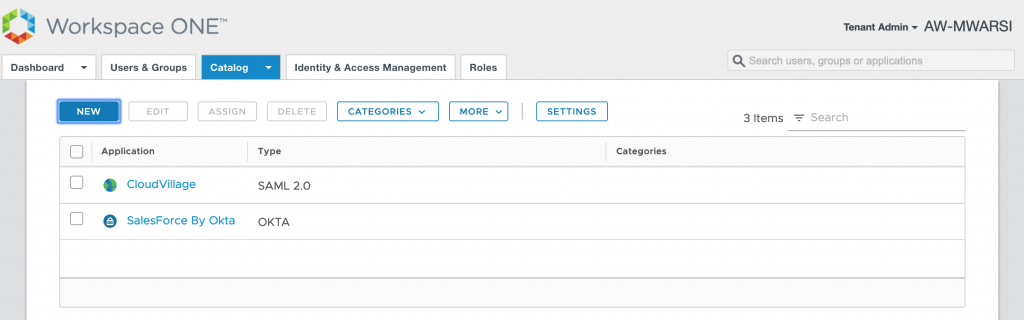
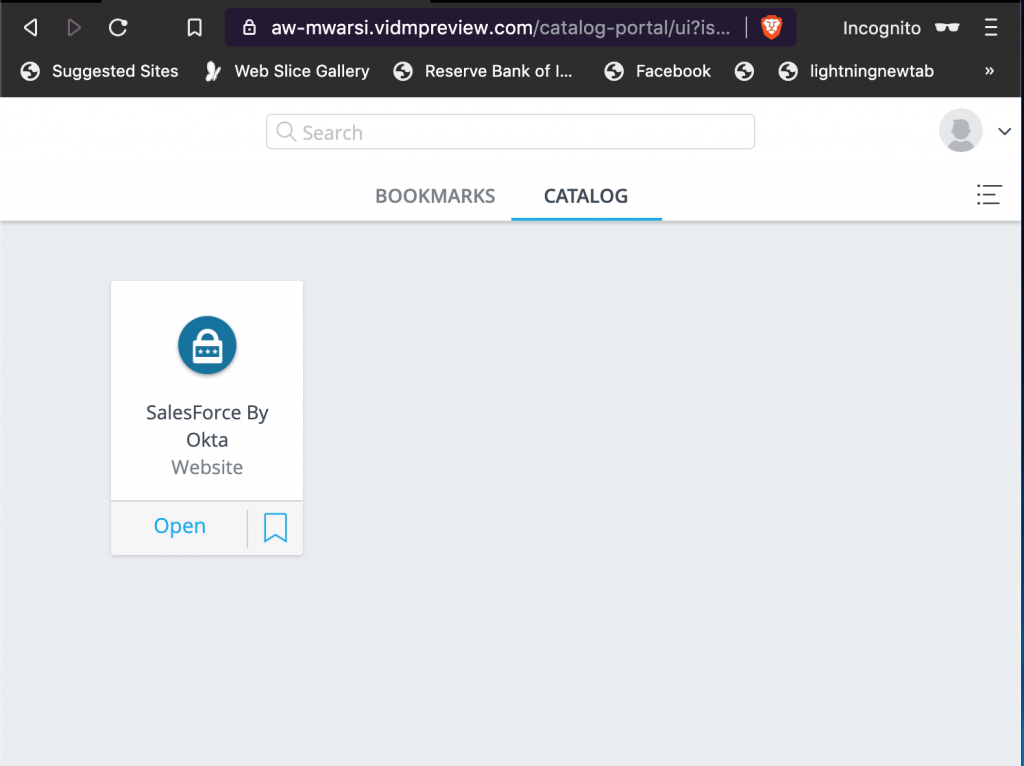
- Verify the Salesforce app is now in catalog with the name you defined.
- User “usera” logs into WS1 Access portal and finds Salesforce is available. This was user just need to login to VMware WS1 Access to access all the apps organisation wide.
- Below video shows how user access the WS1 portal and logs into salesforce which goes through OKTA. Do watch carefully in Browser URL field to verify URL changes.
That’s All, hope you understood. Do write to me for any query or concern.