Hi Everyone, here I am going to explain how you can setup your own VMware Identity Manager Lab to better understand the features.
I have below components in this lab as of now for next few blogs and will keep on adding components as and when required
- Active Directory
- Certificate Authority (On AD Machine itself)
- Connector (Outbound mode Only)
- VMware Identity Manager (SAAS Instance)
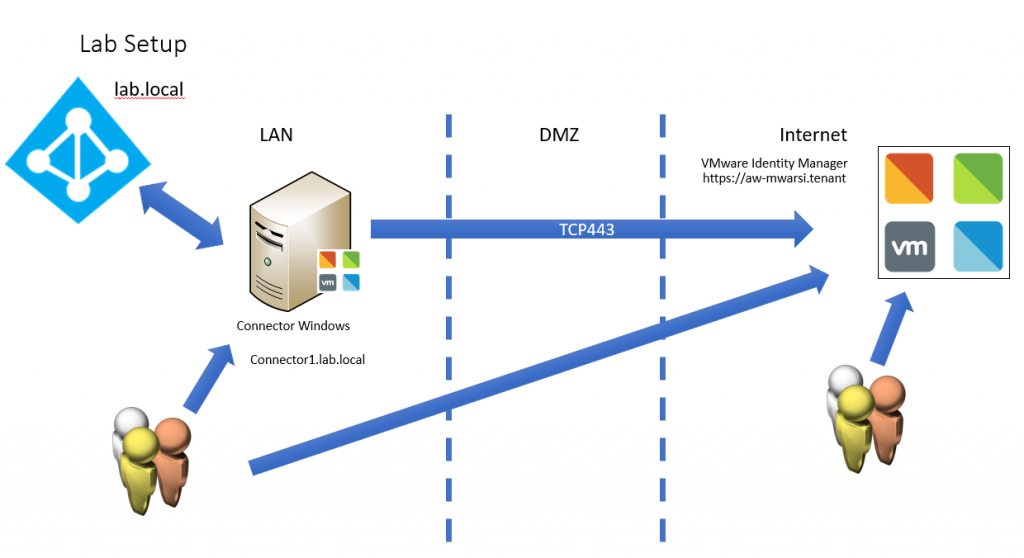
I have users coming in from Intranet as well as from internet.
All the on-premises component are running in VMware Workstation with below config:
Active Directory: 1 vCPU ; 2 GB RAM
Connector : 2 vCPU ; 6GB RAM
Users Machine: 1 vCPU ; 2GB RAM
To start, I deployed Active Directory (lab.local) with Certificate Authority. You can find multiple blogs and article on internet to create the same.
I have one VIDM tenant which I am going to use for this lab. You can deploy your own On-premises instance as well in case you don’t have one and continue with below steps:
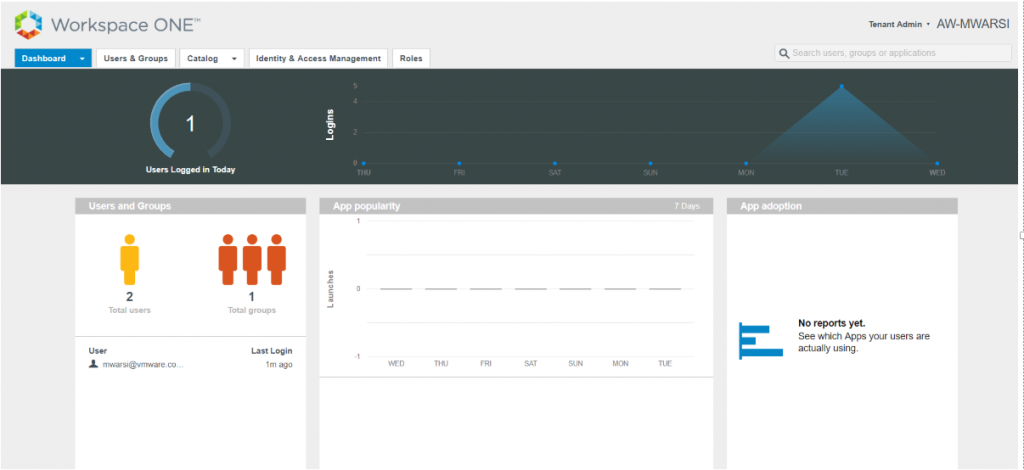
- Login to VIDM instance.
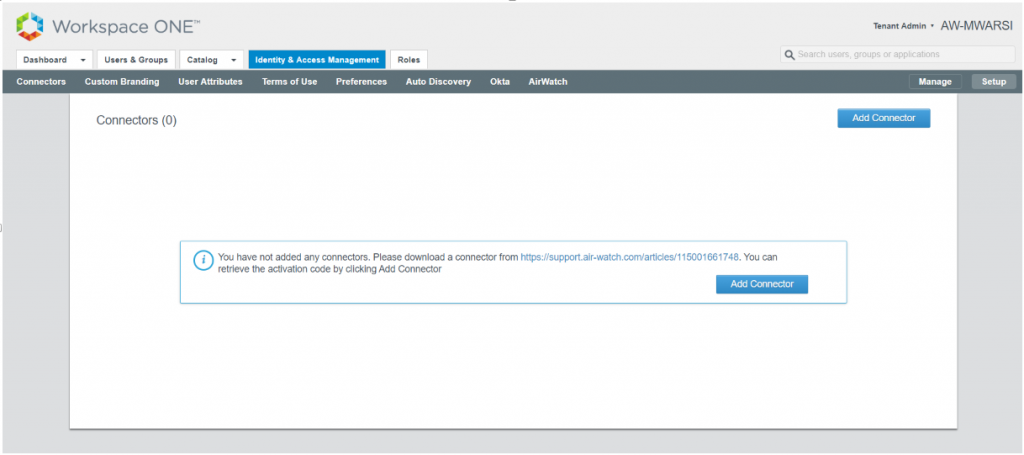
- Navigate to Identity & Access Management>Setup and click in Add Connector
- Enter a Connector name and click on Generate Activation Code
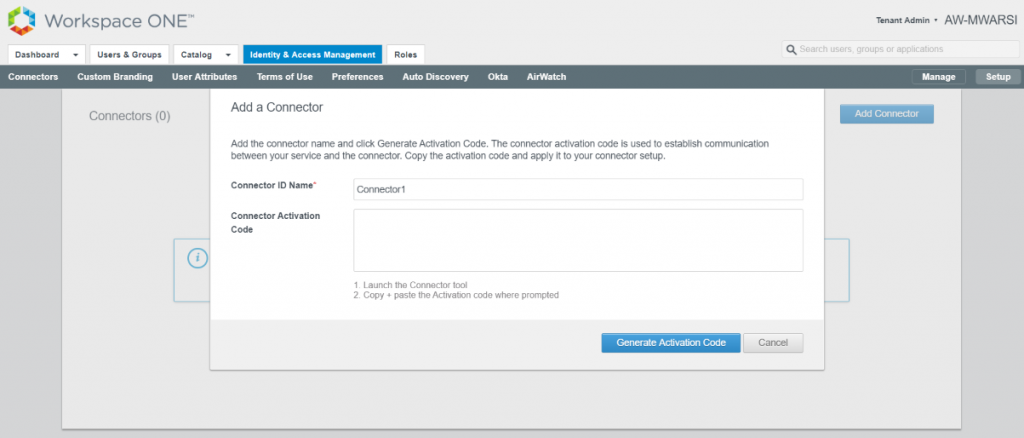
- Copy and save the highlighted code which will be used for activating connector.
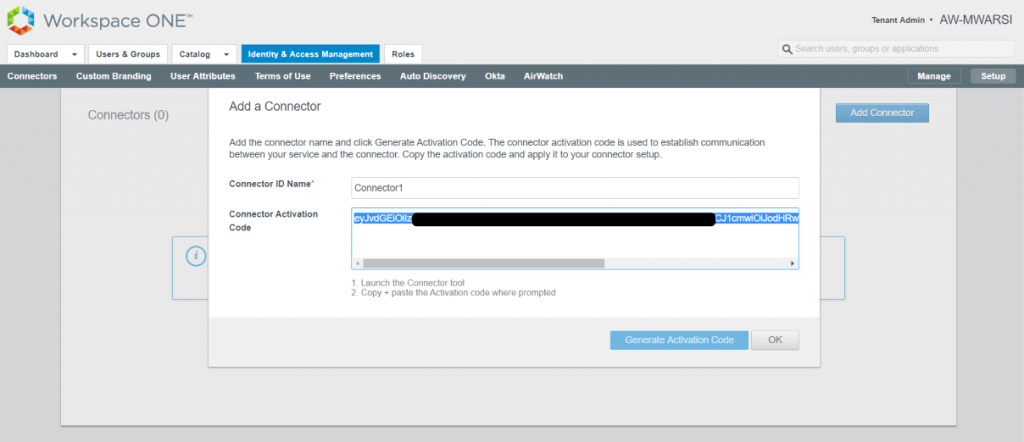
- Click on Ok, you will see one connector which is in “Connector not activated“
- Login to connector Machine which is a Windows server based VM and launch the Connector executable.
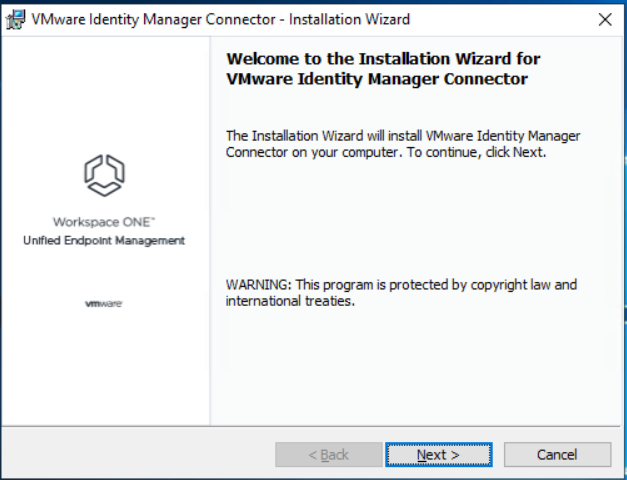
- Click Next on Welcome to Installation Wizard Screen
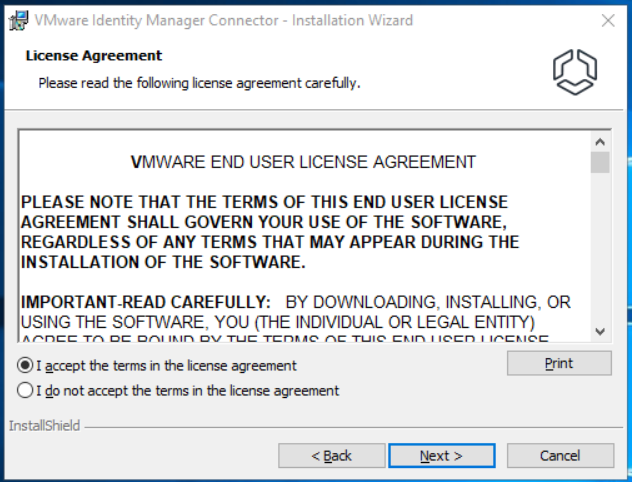
- Accept the License Agreement and click on Next
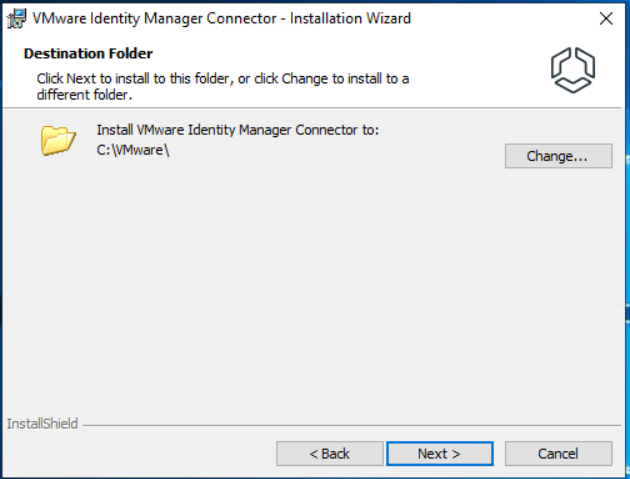
- Click Next on Destination folder wizard, in case you want to change it, do it here.
- Click Next as we are doing fresh installation.

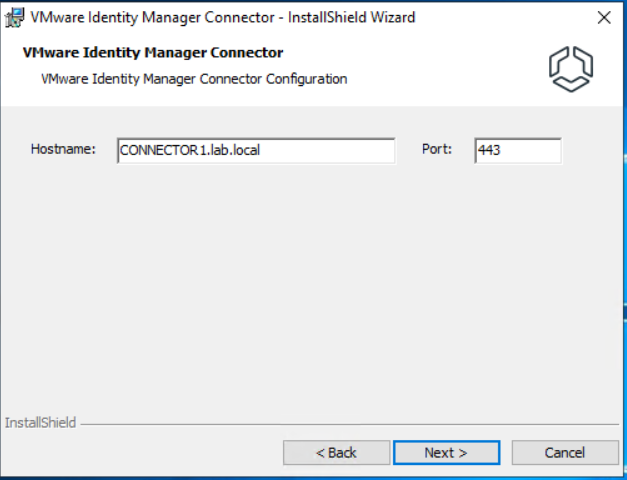
- Click Next for Connector Configuration
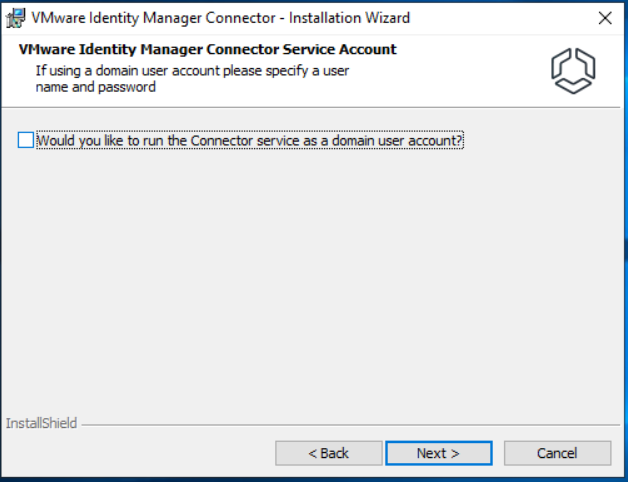
- Click Next without selecting the Service account for the lab purpose.
- Click on Install
- Click Finish
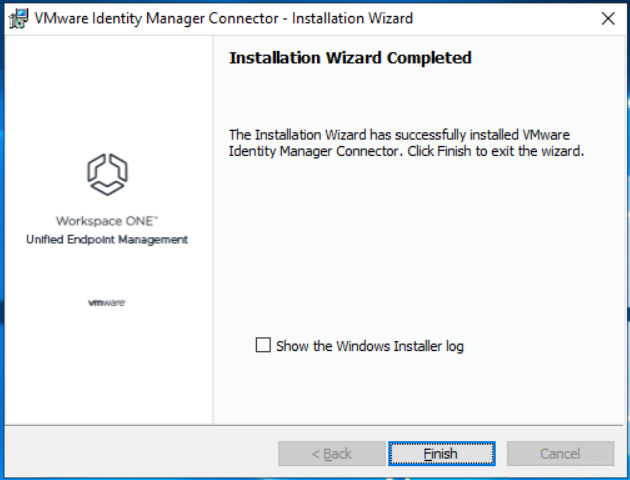
- Once you click on Finish, it will prompt to launch the configuration page. Click on Yes
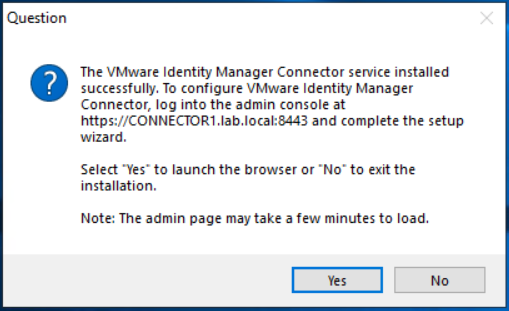
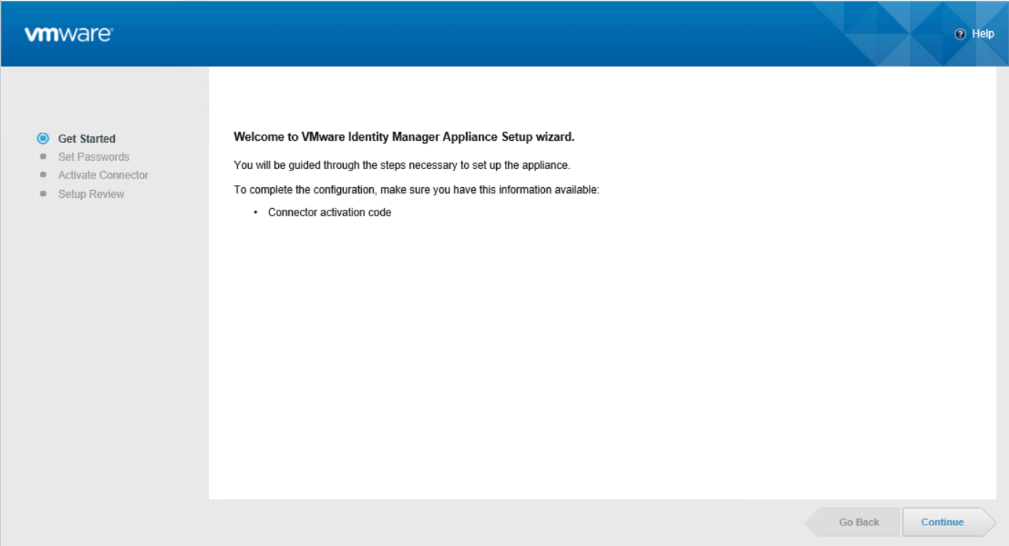
- Click Continue on Connector Setup Wizard
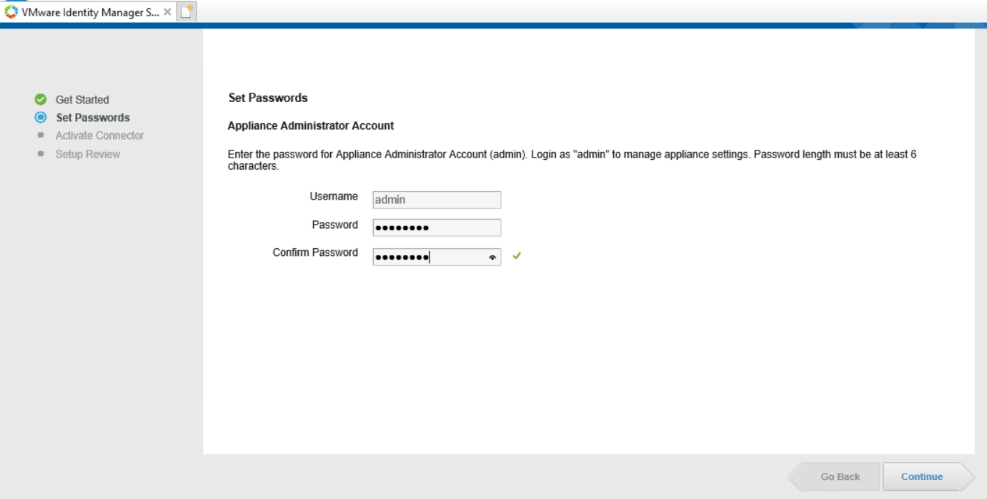
- Set password for Connector admin user and click Continue
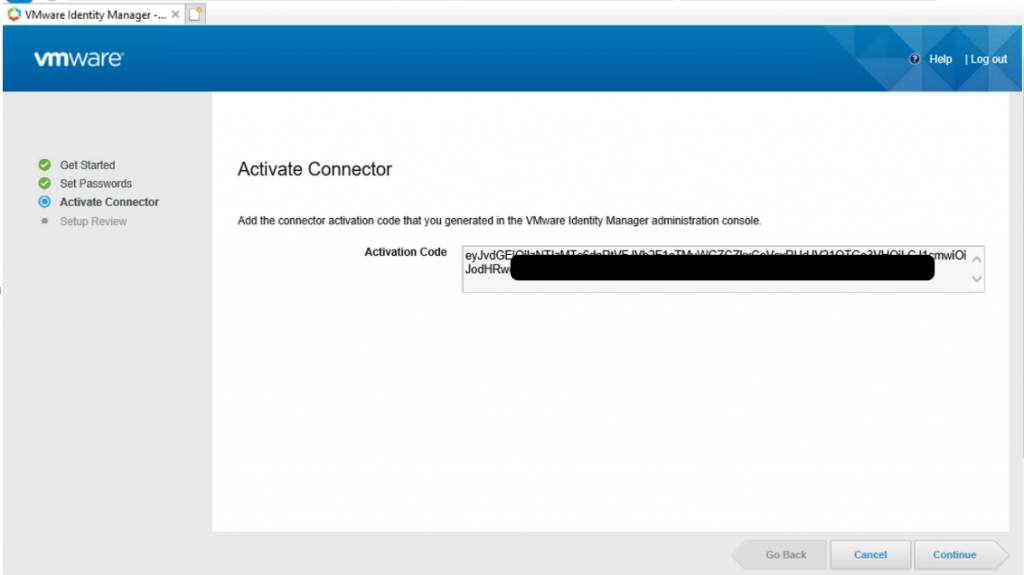
- Paste the connector Activation Code which you generated in VMware Identity Manager and click Continue
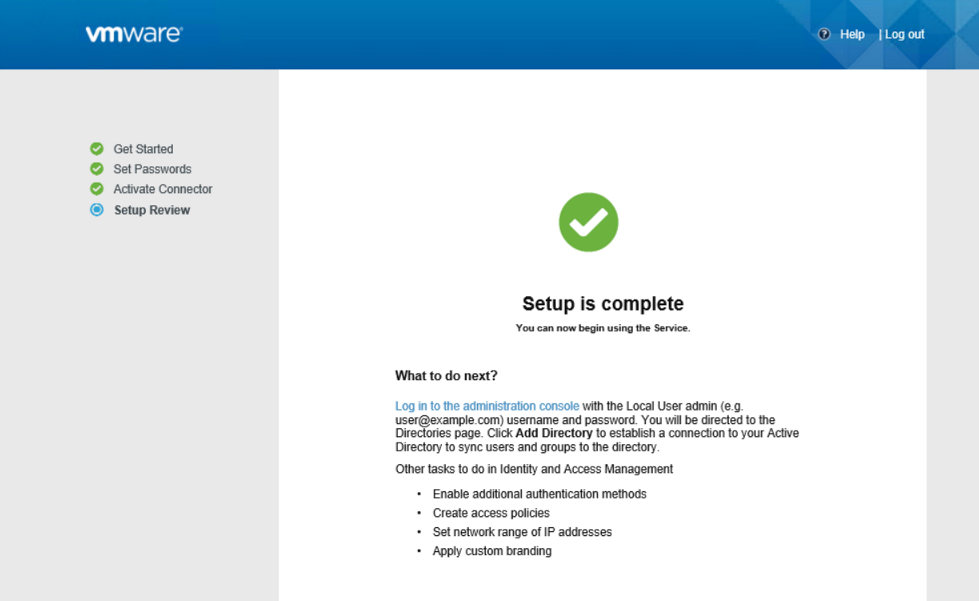
- You will see a Setup is Complete screen once connector is successfully activated
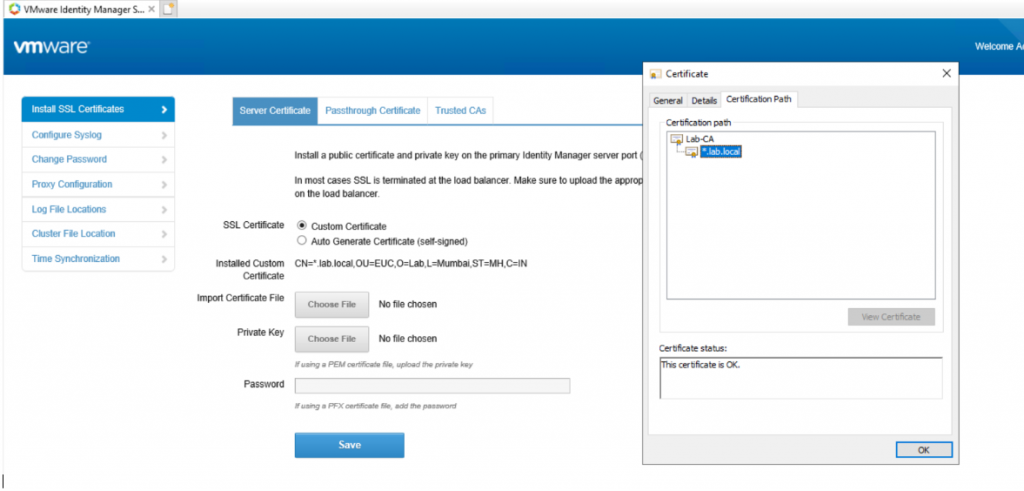
- Login to Connector (https://<Connector_FQDN>:8443/cfg) and install the SSL certificate. In my lab, I have internal CA signed certificate which i Imported and saved.
- Login to VMware Identity Manager Console and navigate to Identity & Access Management>Setup>Connector. You should see Connector is now activated.
Next, we will talk about configuring Active Directory in Part 2.
Thanks for reading, let me know your feedback.