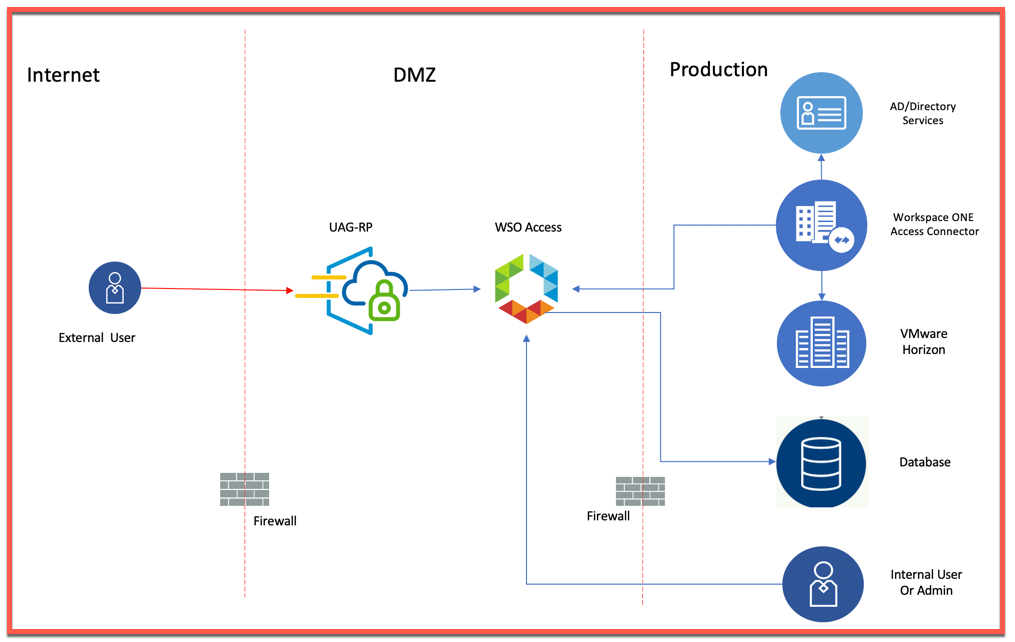
In this article, I am going to describe how to integrate Salesforce which supports SAML authentication with VIDM. This requires configuration to be done at VIDM end as well as Salesforce end trust each other. Once users are authenticated to VIDM portal they can seamlessly access Salesforce without further authentication.
To accomplish this, we need to carry out below activities:
- Download SAML IDP metadata & Certificate from VIDM
- Configuration of SSO settings in Salesforce admin portal
- Download SP Metadata from Salesforce SSO portal
- Add Salesforce app to VIDM from Catalog using SP Metadata
- Provision Users in Salesforce with matching attribute as in Identity source
- Testing the SSO Configuration
I have VIDM SAAS instance which is ntegrated to On-Premises AD with VIDM Connector and Salesforce developer account to carry on this integration. Let’s start with the configuration.
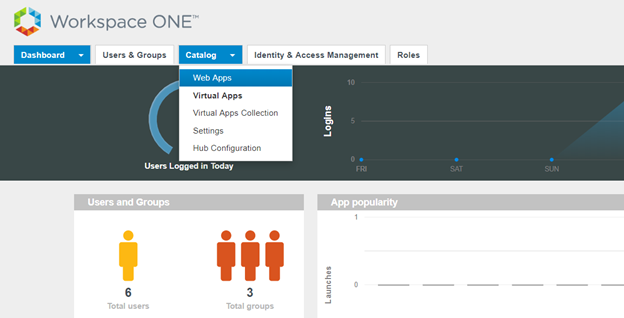
- Login to VMware Identity Manager portal and navigate to Catalog > Web Apps.
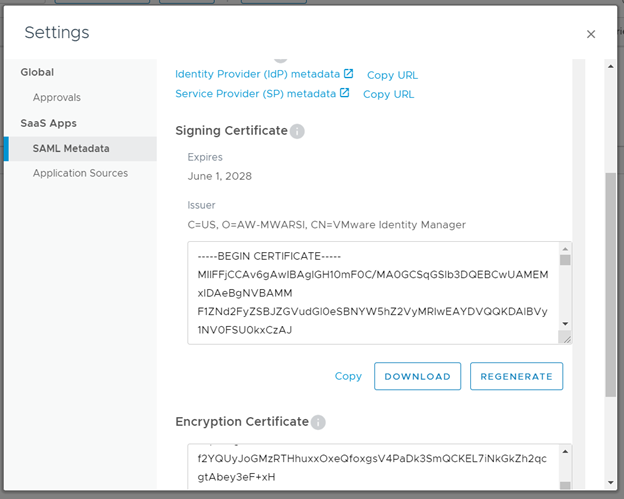
- Click on Settings
- Download the Identity Provider (IdP) metadata as well as Signing Certificate
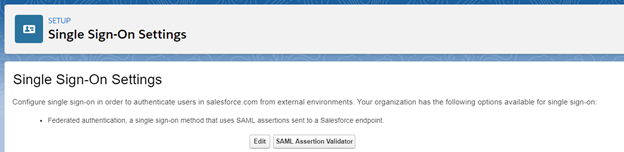
- Login to Salesforce portal and navigate to Setup > Identity > Single Sign-On Settings

- Click on Edit button
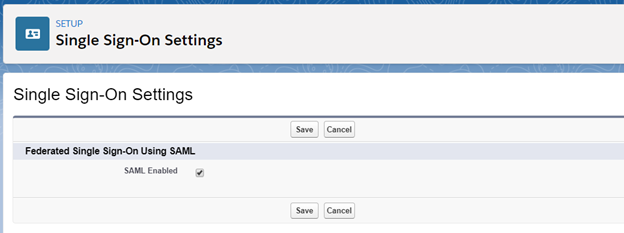
- Select check mark for SAML Enabled and Save
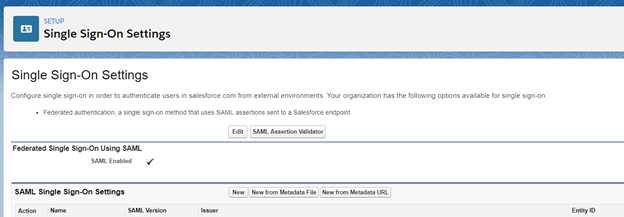
- You should see SAML is enabled. Click on New from metadata file under SAML Single Sign-on Settings
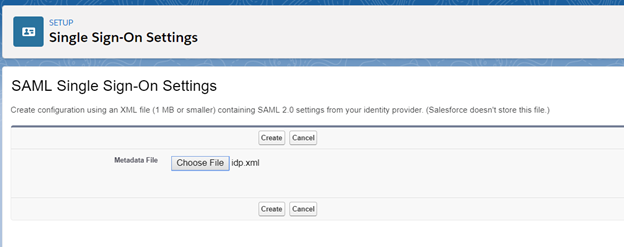
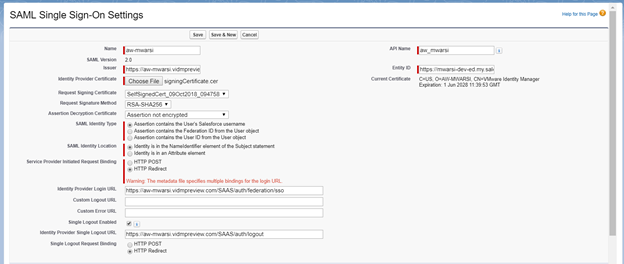
- Click on Choose File and select the IDP Metadata file which is downloaded from VMware Identity Manager portal. Click on Create.
- SAML Single Sign-On settings will be auto-populated. Click on Save Button on top of the settings.
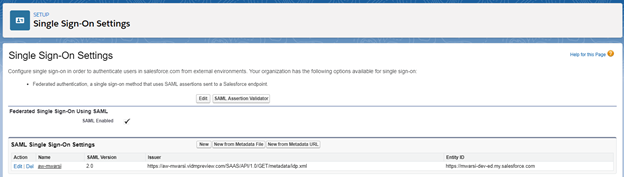
- Now, you will see a line item for SAML Single Sign-On settings page as shown below. Click on the Name (aw-mwarsi)
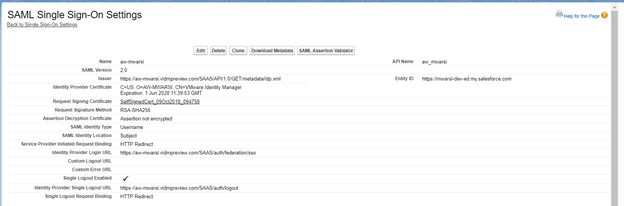
- In this window, you can view all the configurations for the SSO as well as there will be button on top to download the SP metadata. Click on Download metadata
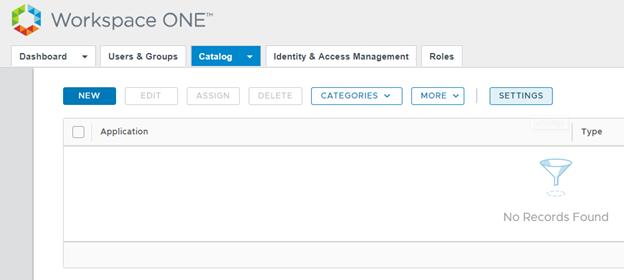
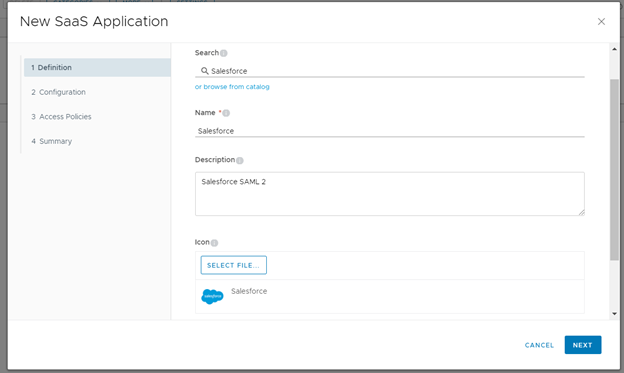
- Login back to VMware Identity Manager portal and navigate to Catalog > Web Apps and click on New
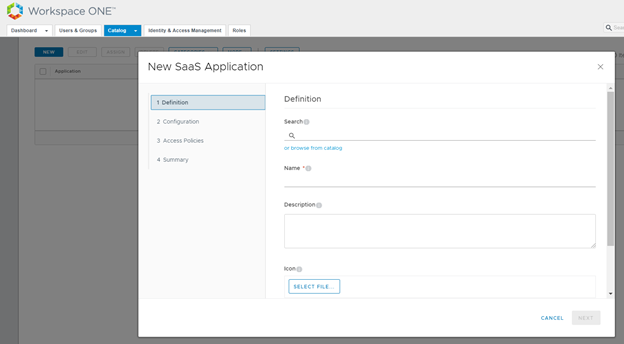
- Click on browse the catalog and search for Salesforce, select the webapp
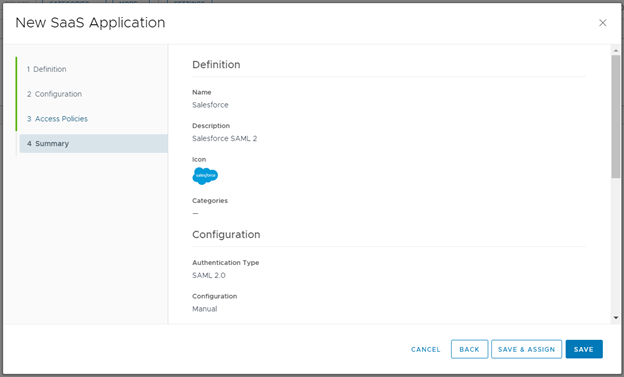
- You will get New SAAS Application wizard auto-populated, Click on Next
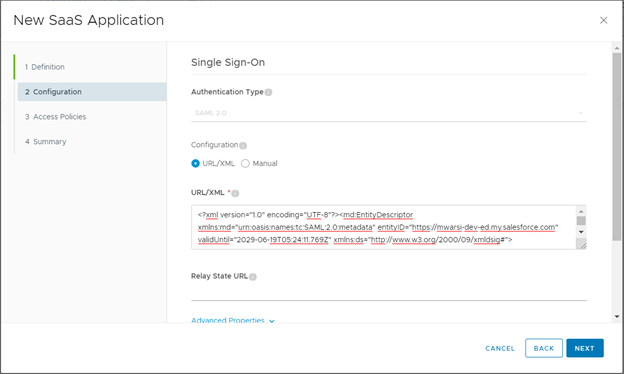
- Under Configuration, select URL/XML and paste the content of metadata which is downloaded from Salesforce portal. Click on Next
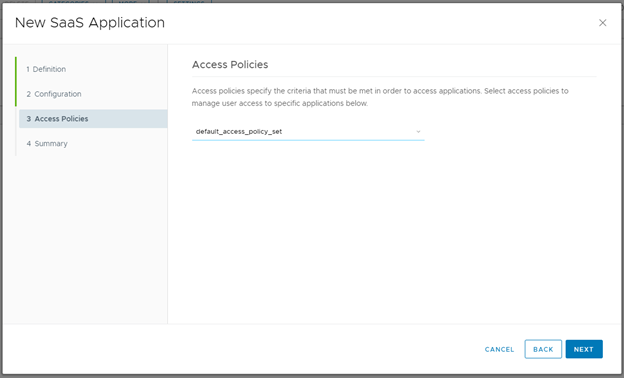
- Click Next for default policy
- Click on Save
- Verify a new web app is added to catalog. Select the WebApp and click on Assign
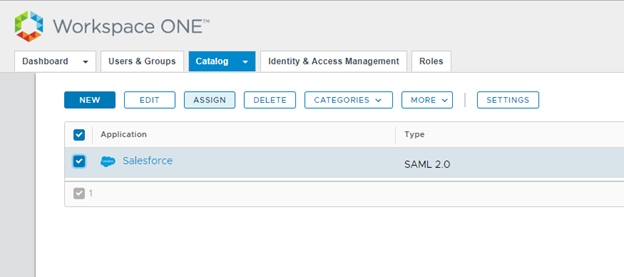
- Search for users/group to whom application is to be assigned. Select Automatic for deployment type. Click on Save

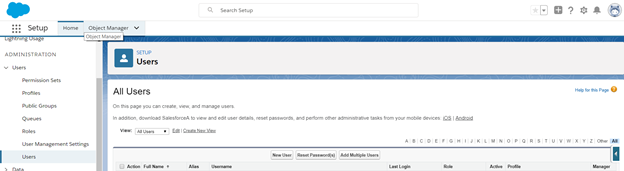
- Now, users can see the Salesforce app in the catalog but to complete he SSO login process, users account must be created in Salesforce users database.
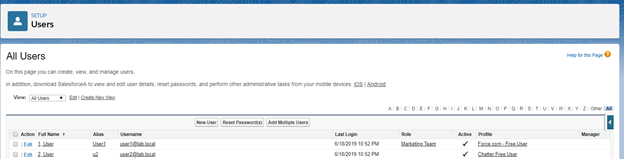
- Login to Salesfoce admin console and navigate to Setup> Users > Users and click on New User
- Provide the detail for the user which should match with the details with your identity source
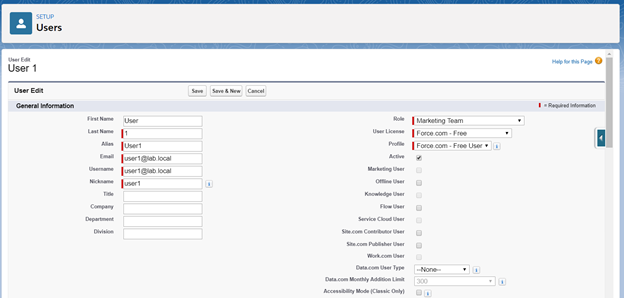
- Click on Save and create a one more new user on same way.
- Open a new Incognito Browser and access VMware Identity Manager portal and login with test user.
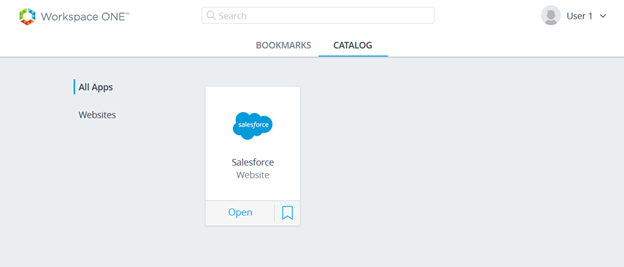
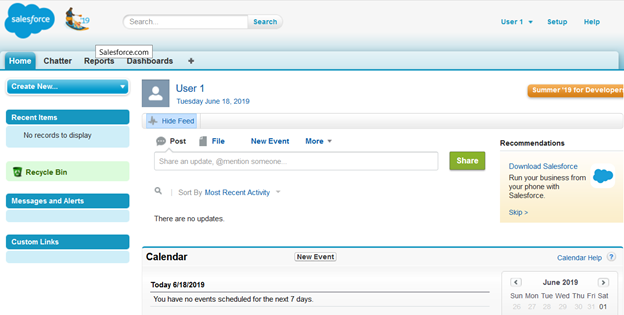
- You will see Salesforce applicaiton which is assigned to user in the catalog. Click on Open
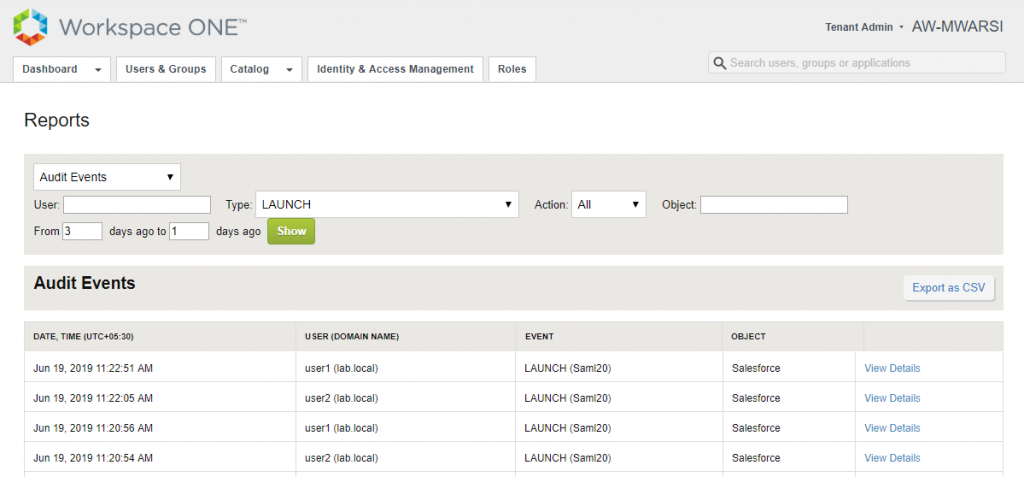
- You can validate the same in VIDM reports. Navigate to Dashboard> Reports
- select Audit Events and type Launch which shows Salesforce app under Object and Event as Launch (Saml20) for user1 and user2
Hope this is helpful for you guys. Thanks for reading.